Watercolor Waffle Tutorial & More Valentine’s Day Card Ideas
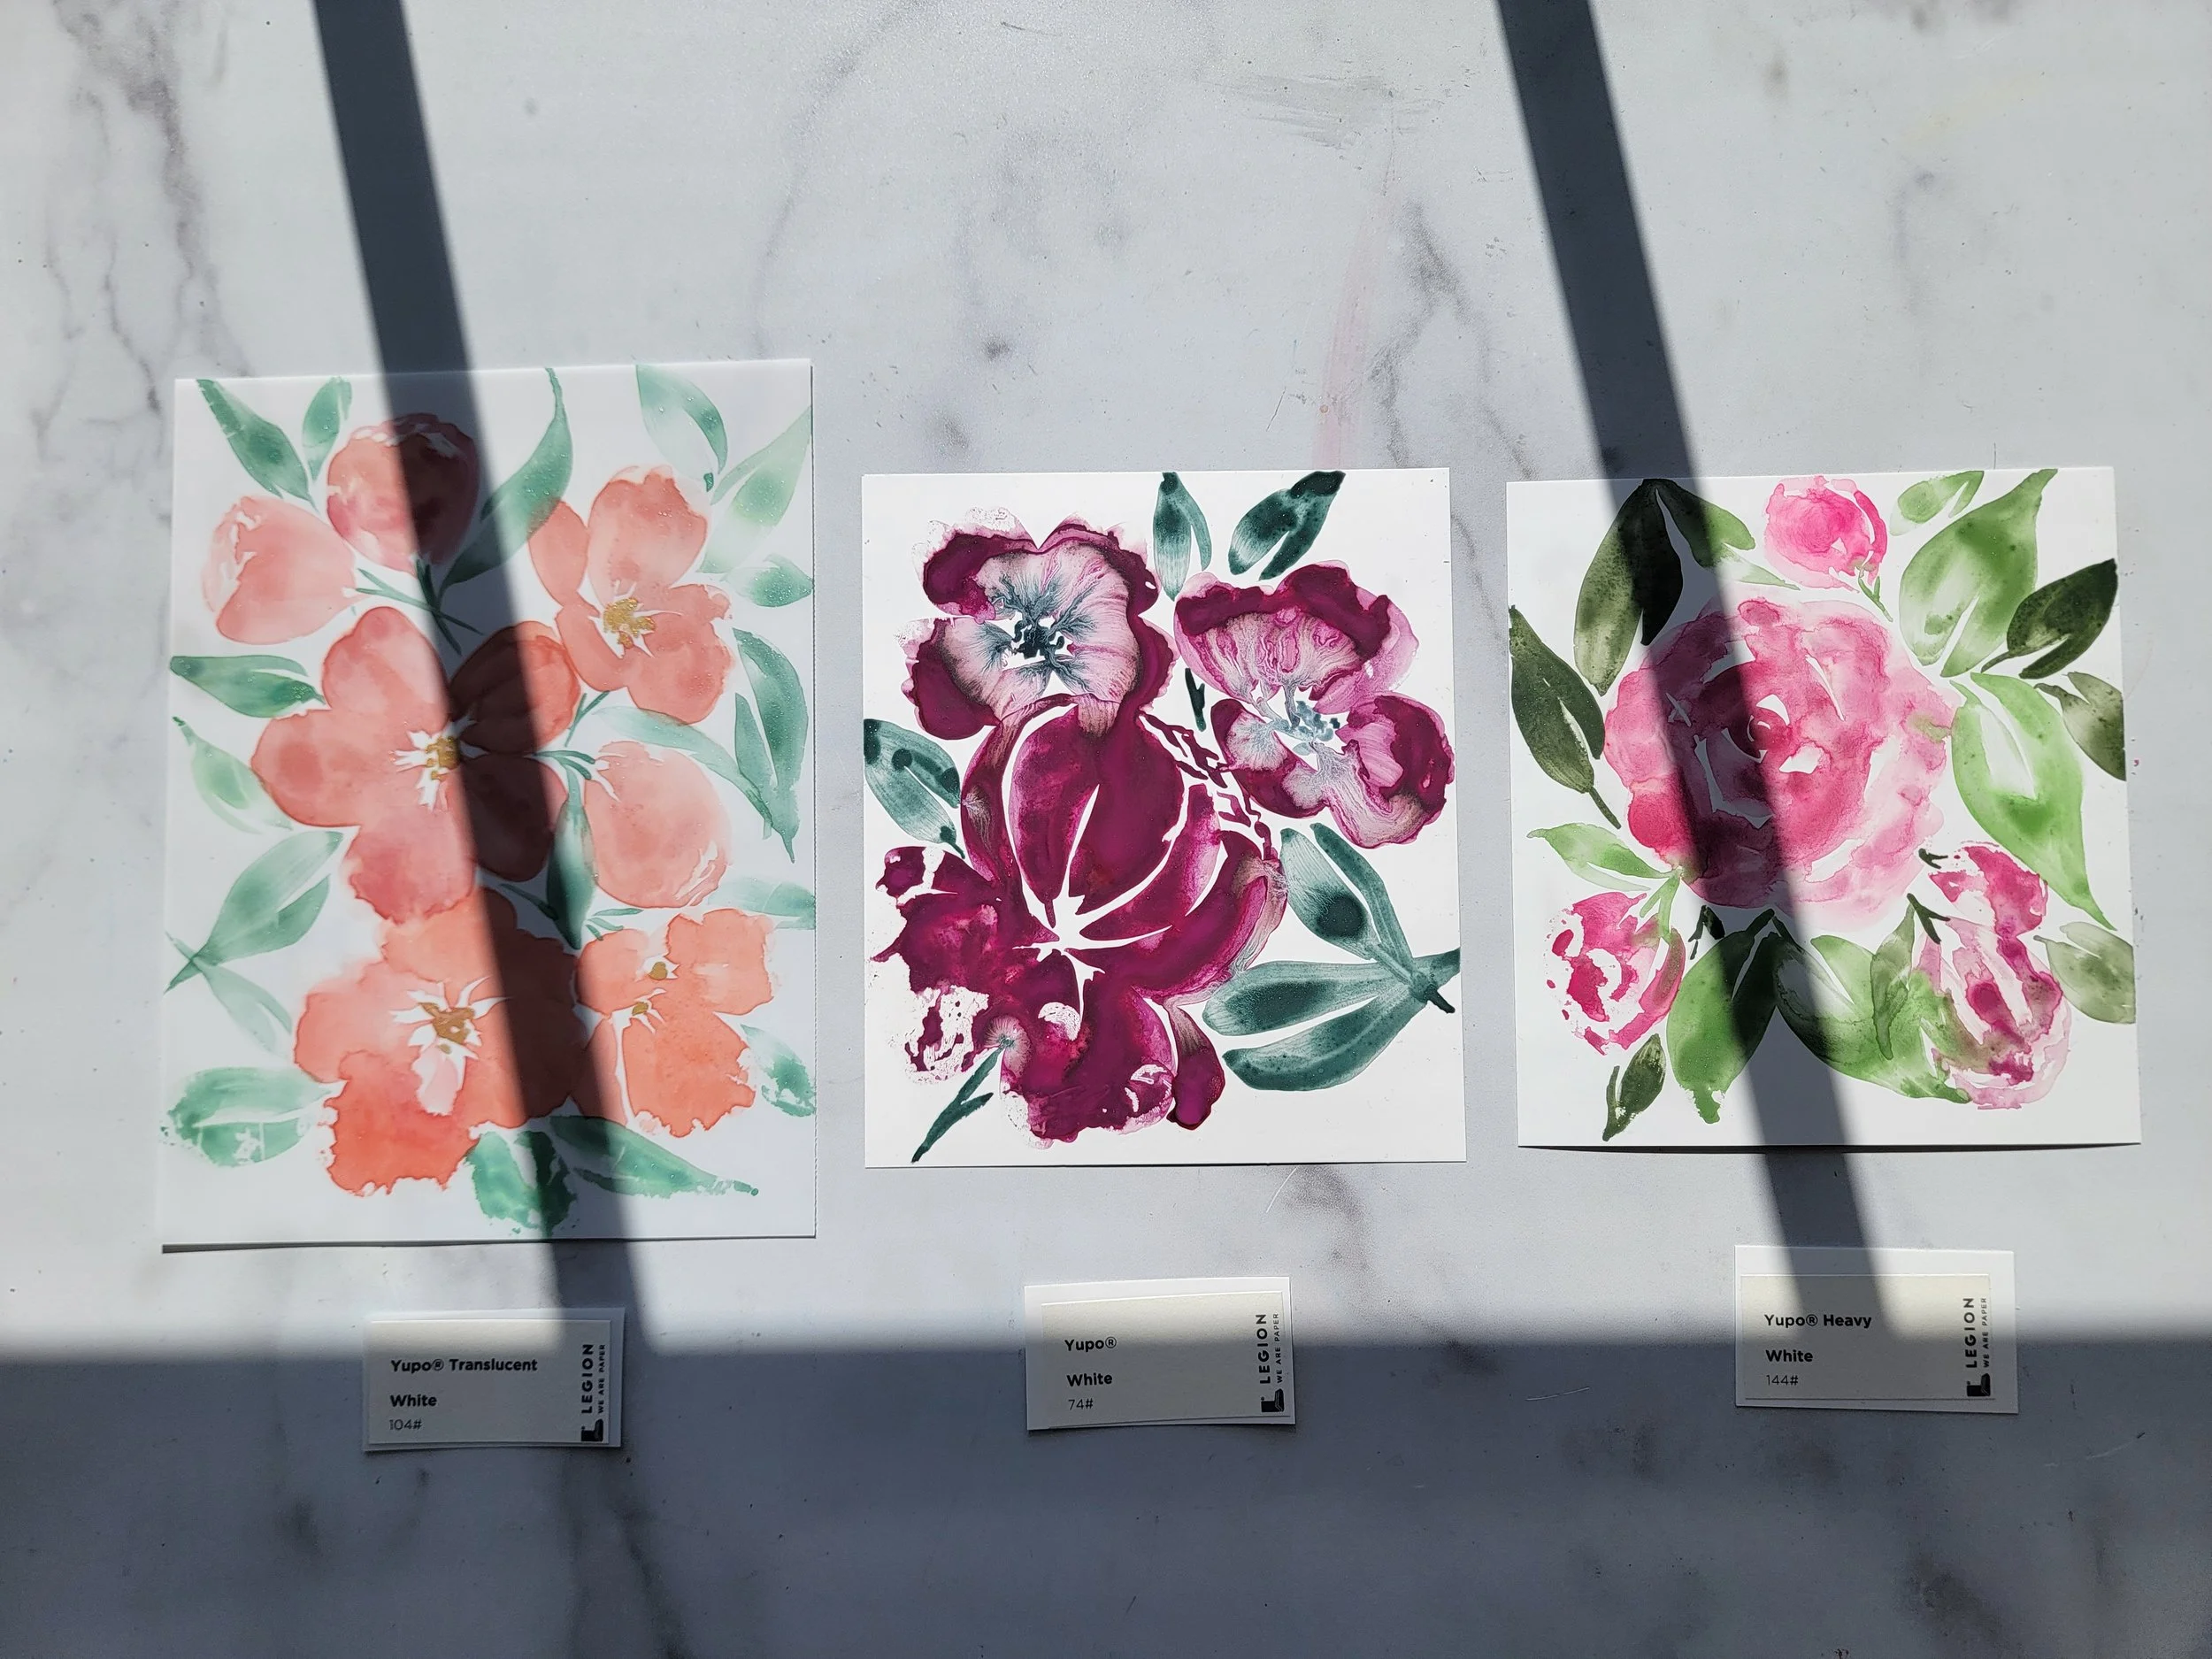
Disclosure: This post may contain affiliate links, meaning, at no additional cost to you, I will earn a commission if you choose to click through and make a purchase. Also, this blog post is in collaboration with Legion Paper and some supplies were gifted to me.

Since both Galentine’s and Valentine’s Day are both quickly approaching, I wanted to share how you can use your creativity to make some one of a kind cards that your loved ones will be excited to receive.
Watercolor Heart Shaped Waffle
First up is a tutorial on how to paint a watercolor heart shaped waffle!
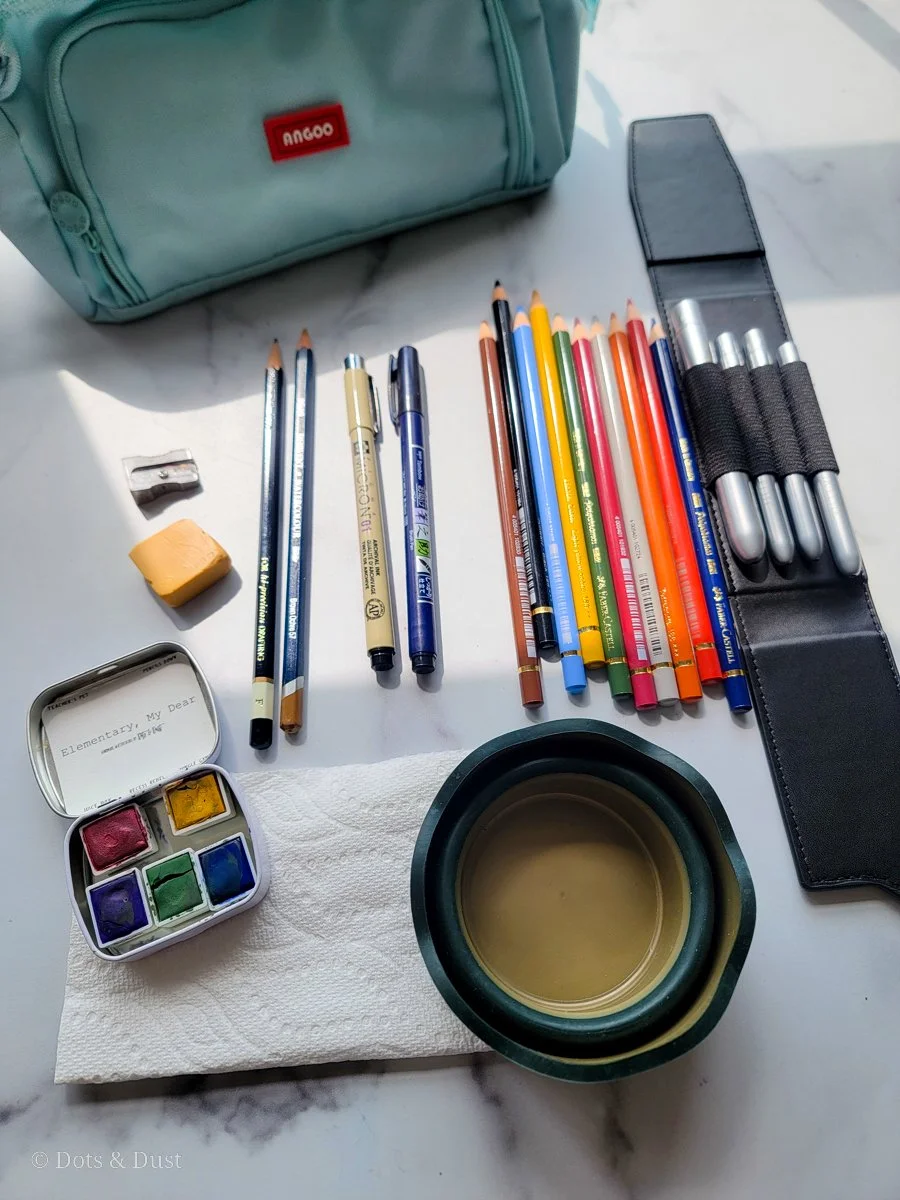
Supplies Needed:
watercolor paper
scissors or paper cutter
washi tape
heart shaped cookie cutter
pencil and ruler
Eraser (I used a Prismacolor Gum Eraser)
Round Paint Brush in sizes 8 and 2 (I am using Princeton Heritage and Neptune)
Paint colors in a peach or skintone and brown hues (I am using the colors “Make a Wish” & “Chocolate Crush”)
Black Sakura Pigma Micron Pen in 01
Start by first cutting your watercolor paper to the size card of your choice. I normally like to do a simple 5”x7” or 3”x5” card.
Using the heart shaped cookie cutter, take your pencil and lightly trace the heart shape on the front of your card.
I like to then take my eraser and erase most of my pencil marks to the point where the heart shape is just visible to me, but not too apparent to the viewer.
Use your washi tape to tape down your card to your painting surface. You can also choose to tape it down to a clip board if you like to have the freedom to turn your card as you paint it.
Take your ruler and lightly pencil in a grid of small squares inside the heart shape. You can do this by drawing lines both horizontally and vertically inside the heart shape. This is going to be the small squares of your waffle. Be sure to use the eraser to lightly remove any lines that are too dark.
Using my peach/skin tone paint color of my choice and my round 8 brush, mix it on a palette with lots of water so you have a very light hue.
Take this color and paint a light wash all over the inside of the heart shape. Let it completely dry.
Once dried, take your smaller size 2 round brush. Using the same peach/skintone paint color, paint in each square in the grid of your heart. This color should be darker than the wash you previously made. Make sure to leave a bit of “white space between each square so you can still see the grid on your heart. You also want to make sure that you are leaving the boundary around the heart lighter in color as well. Continue to paint inside each grid and then let it completely dry.
Use the same round 2 brush and pick up your brown paint color. Go back into each grid and paint the top and right side with this darker brown color. This creates shadows in your waffle and gives the grids more depth.
Then create more dimension to your waffle by outlining the outside left or right side of your heart with the same peach/skin tone paint color. Let it completely dry.
You can leave it how it is or add a cute “punny” Valentine’s Day message to your card. Finished!


For a more detailed look at how I created this, see the video below:
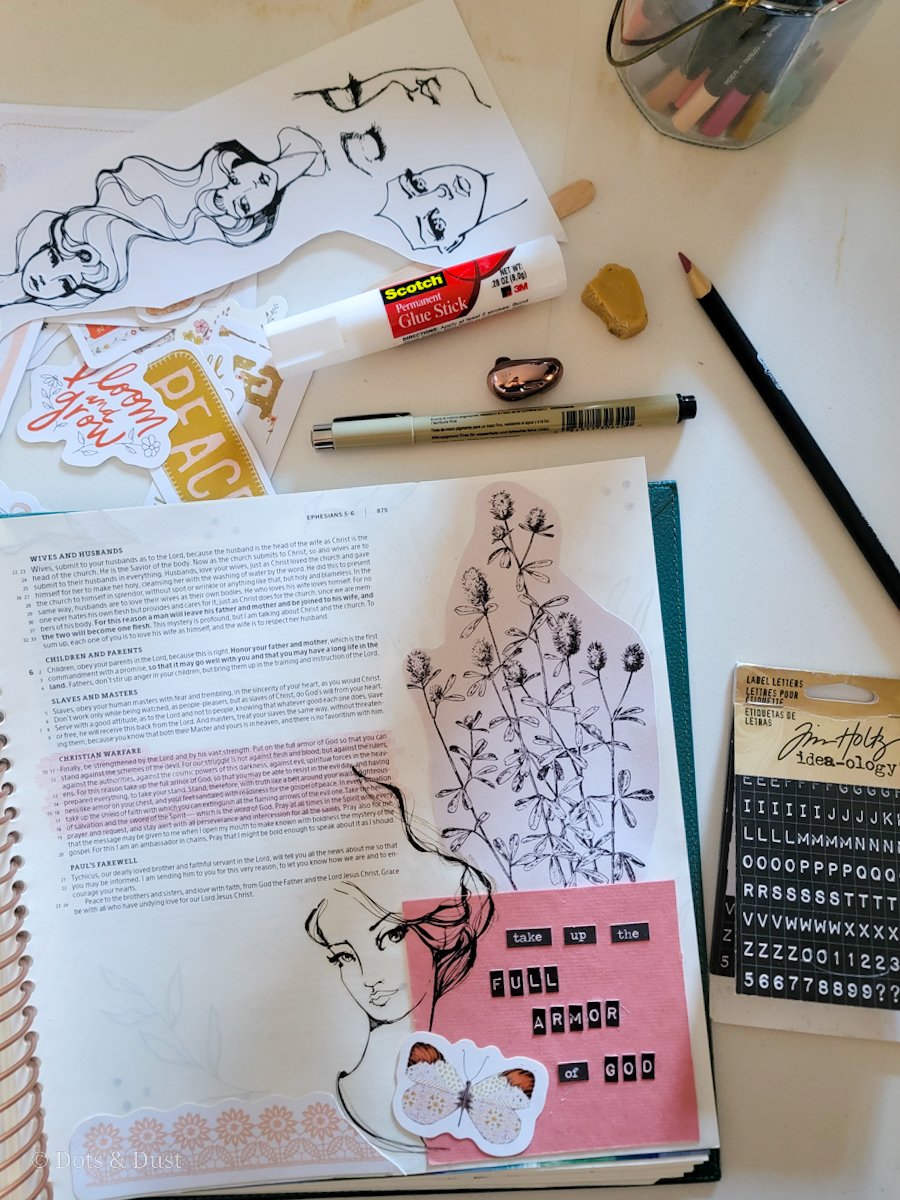
More Valentine’s Day Card Tutorials
Need more ideas? Here are some of my favorites with links to their tutorials!


If you end up trying out any of these tutorials, I would love to see your work on social media. Be sure to tag me @dotsanddust
The Latest & The Greatest