How to Paint Conversation Heart Candies
Disclosure: This post may contain affiliate links, meaning, at no additional cost to you, I will earn a commission if you choose to click through and make a purchase.

Love is in the air, and what better way to celebrate than by painting your very own watercolor conversation hearts? These iconic candies have been a symbol of affection and sweet messages for generations. In this blog post, I will give you the step-by-step instructions on how to create your own vibrant and charming conversation hearts. Whether you're looking to create heartfelt Valentine's Day cards or simply want to add a touch of whimsy to your artwork, this tutorial will help you bring these delightful treats to life on paper.
So, grab your brushes, prepare your palette, and let's do this!
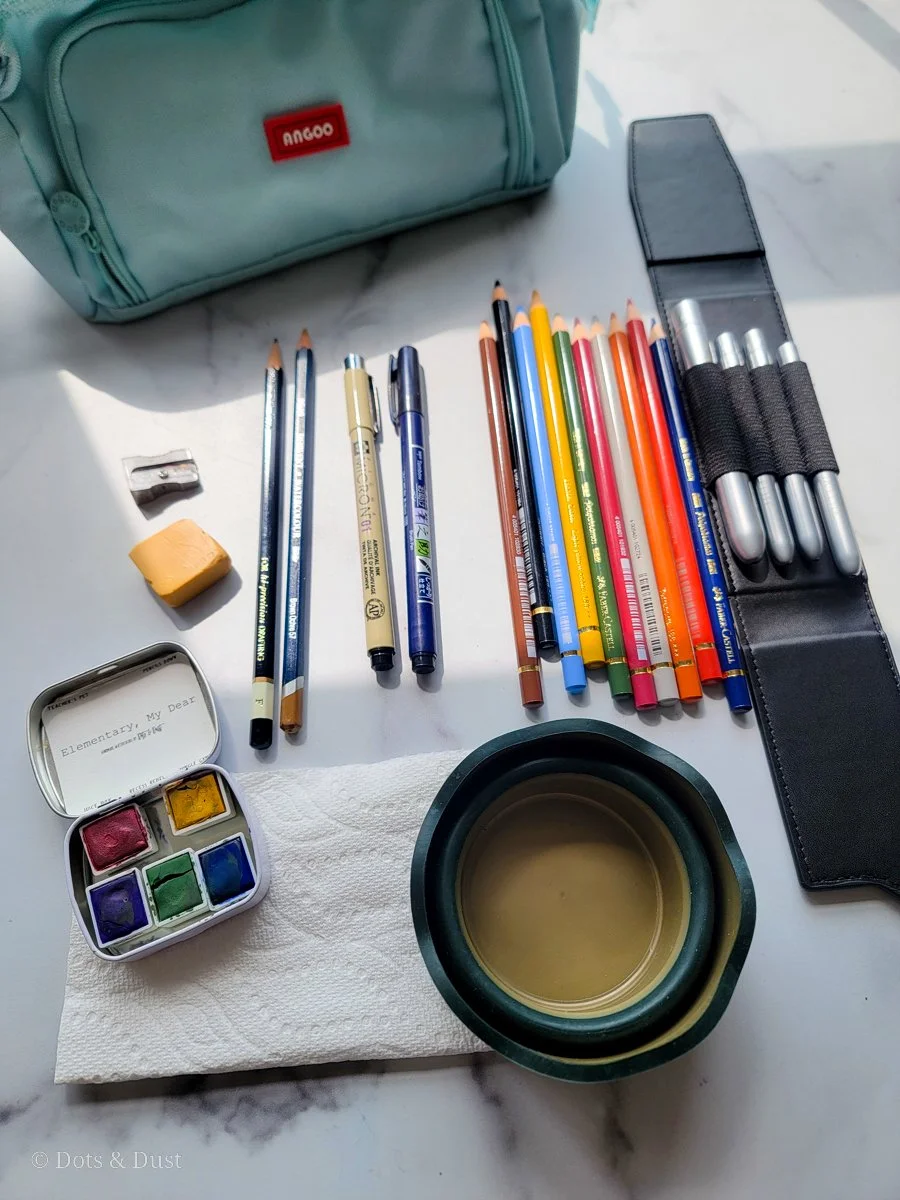
Supplies Needed:
Canson XL Coldpress Watercolor Paper
Pencil & Eraser
Small Heart-Shaped Cookie Cutter
Princeton Heritage 4050 Round Brush Size 6
Princeton Heritage 4050 Round Brush Size 2
Two Jars of Water
Watercolor Paints in Pastel Colors
(If you cannot find pastel colors, use a white watercolor paint or white gouache to mix in with your colors to make it more opaque)
White Ceramic Plate or Paint Palette for mixing colors
Sakura Pigma Micron Pen 01

Start by cutting your watercolor paper to the size of a card that you would like.
Using your pencil, we are going to LIGHTLY trace the inside of a small heart shaped cookie cutter. Once you have the desired amount of hearts drawn, lightly erase the marks so that only you can see them.
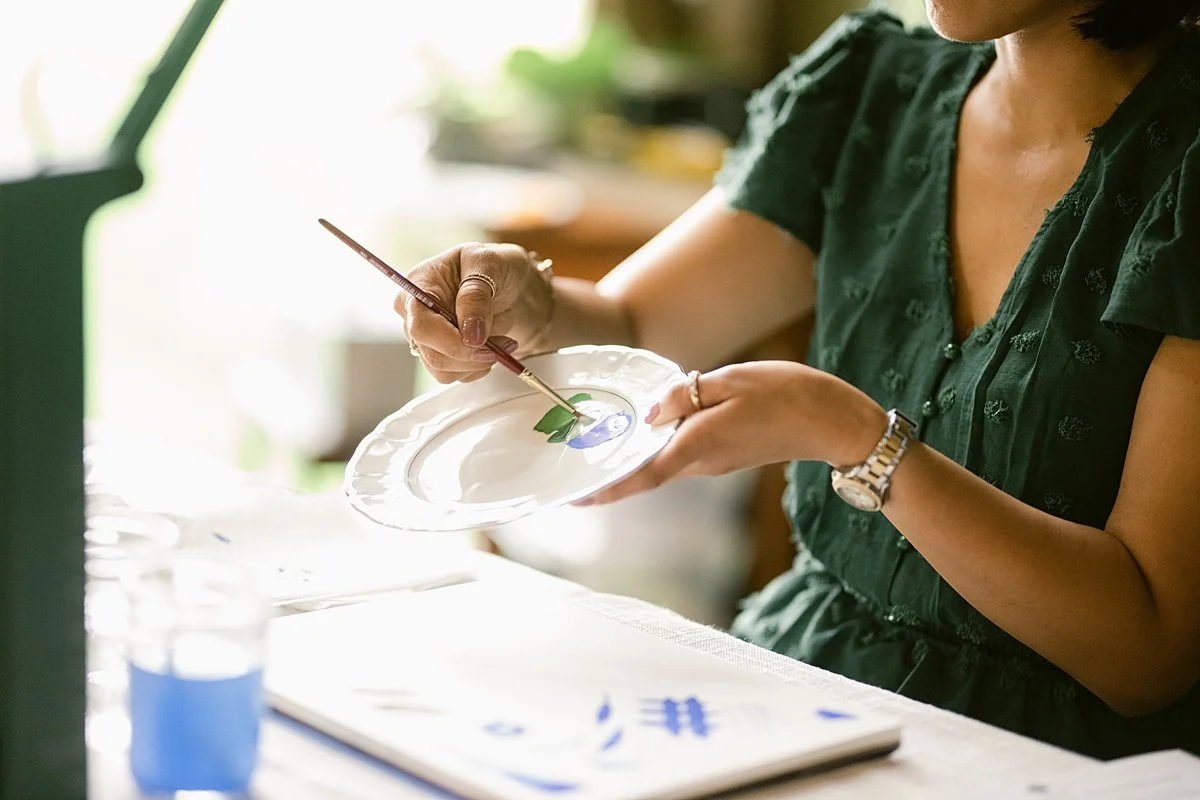
Next, take your size 6 round brush and paint in each of your hearts with a pastel color. I used the colors pink, green, and yellow. Remember, you can make your watercolor paints much lighter and opaque in color by mixing in white watercolor/gouache paint. Let it dry.
Now, use your size 2 brush, choose one side of your heart and paint in a thicker and darker outline. This gives the illusion of your hearts being a bit more three dimensional.
Once your hearts are dry, use a red or magenta watercolor paint and using the VERY TIP of your size 2 brush, carefully paint in the words in your hearts. I painted “Text Me,” “XOXO,” and “Cutie Pie.”
Write in the Valentine’s Day Message of your choice.
And Viola! You are finished!
For a more detailed look at how I created this, see the video below:
This makes such a cute card that kids can make as valentine’s for their friends or adorable gift tags for a Galentine’s day party.
If you happen to try this tutorial out, please be sure to tag us using the hashtag #dotsanddustfam on social media and Instagram.
What do you think?
Will you try it out?
And what would you like to see me paint for Valentine’s Day? Let me know in the comments below!
The Latest & The Greatest