How to Paint a Valentine’s Day Bear
Disclosure: This post may contain affiliate links, meaning, at no additional cost to you, I will earn a commission if you choose to click through and make a purchase.

Ready for another easy Valentine’s Day watercolor tutorial?
This time we are going to be painting this adorable Valentine’s Day Bear!
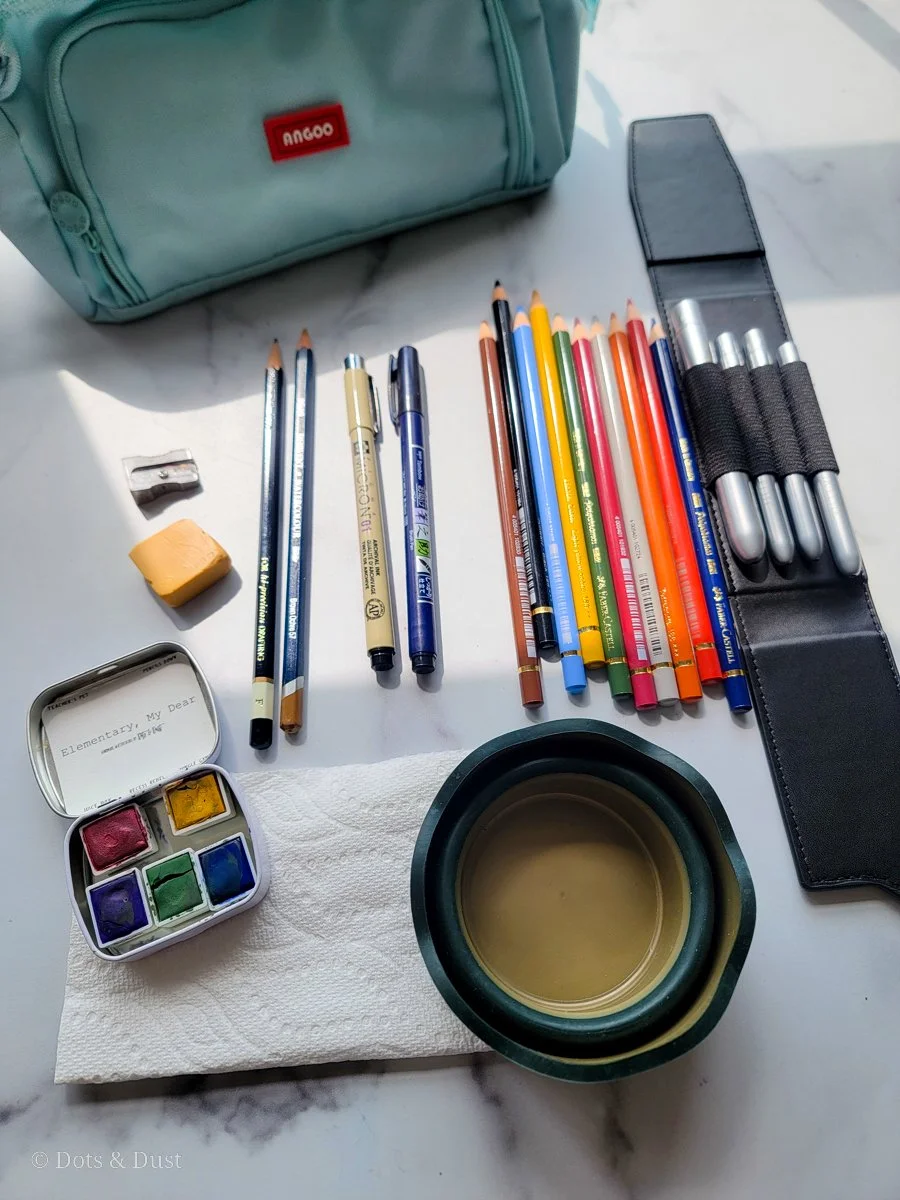
Supplies Needed:
Two Jars of Water
Dots & Dust Paint Colors:
White Ceramic Plate or Paint Palette for mixing colors

Start by cutting your watercolor paper to the size of a card that you would like.
Using your watercolor pencil, we are going to start by sketching the body of our bear. LIGHTLY draw a large arc (rainbow) shape in the center of your card.
Next, draw a smaller arc (rainbow) shape within the larger arc. Make sure that you are drawing this small arc on the lower half of the large arc.
Just above the smaller arc, draw a small circle.
Load your size 6 round brush with a rose gold color (I am using “Make a Wish”) and paint in the space inside the large arc. BE CAREFUL. Do not paint the inside of the small arc or the small circle. Those need to stay white.
Now, let’s paint the ears for your bear. Take the same color and paint two small semi circles that are attached to the upper left and right sides of the large arc. Paint in the ears.
To paint the heart that the bear will be holding, start by mixing a magenta paint color on your white ceramic plate or paint palette. I created this color by mixing “Teacher’s Pet” and “Tiny Umbrellas”
Using that magenta color, paint in a heart at the center of the small white arc.
Next, we are going to paint in the nose and mouth of your bear. Load your size 2 round brush with black paint (I used “Limo Service”) and using the very tip of your brush, paint in a small black dot in the center of your white circle on your card. Paint a very thin black line from your black dot to the bottom of that white circle.
Paint in two black dots on either side of your nose to create your bear’s eyes.
Then using a light pink color (you can achieve this by watering down the magenta on your white plate), paint rosy cheeks right below your teddy’s eyes.
Lastly, you are going to paint the bear’s arms holding the magenta heart. Just load your size 6 round brush with your rose gold color again, and paint in two ovals, one from the bottom left and another from the bottom right corners to the heart.
Outline the top of the small semi circles with your rose gold paint to just add more definition to your bear’s ears.
Once your painting is fully dry, it’s time to add a cute Valentine’s Day message (ex. I love you beary much!) with your Pigma Micron pen. Viola! You are finished!
For a more detailed look at how I created one, see the video below:
This makes such a cute card that kids can make as valentine’s for their friends or adorable gift tags for a Galentine’s day party.
If you happen to try this tutorial out, please be sure to tag us using the hashtag #dotsanddustfam on social media and Instagram.
What do you think?
Will you try it out?
And what would you like to see me paint for Valentine’s Day? Let me know in the comments below!
The Latest & The Greatest