How to Paint Lavender in Watercolor
Disclosure: This post may contain affiliate links, meaning, at no additional cost to you, I will earn a commission if you choose to click through and make a purchase.
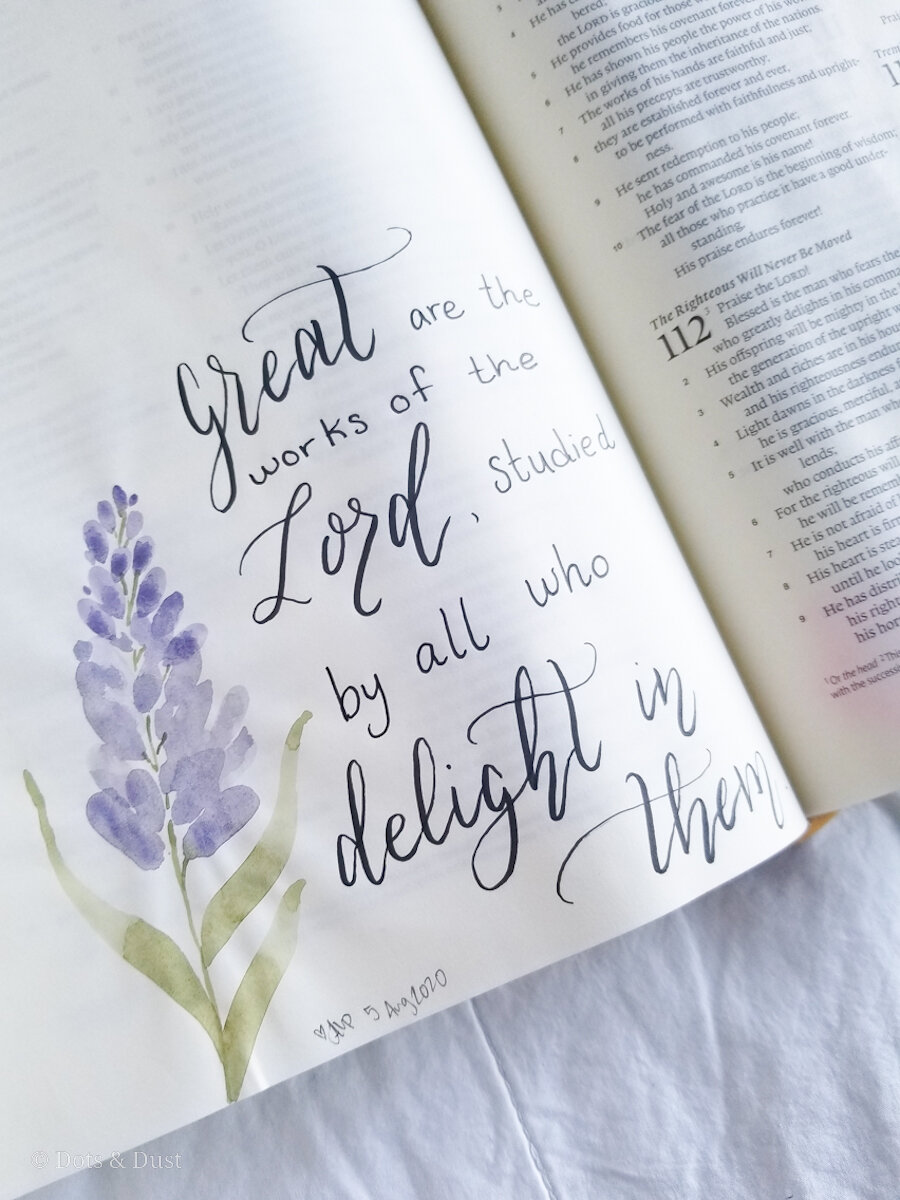
Last week, I showed you how incredibly easy it is to paint watercolor black-eyed susan flowers. This week, I get to share a quick tutorial on how to make these cute lavender flowers.
Quick side note: I actually despised the smell of lavender growing up because I thought the scent was way too strong. But surprisingly enough, I love it now as an adult and use my lavender essential oils for pretty much everything!
On to the tutorial!
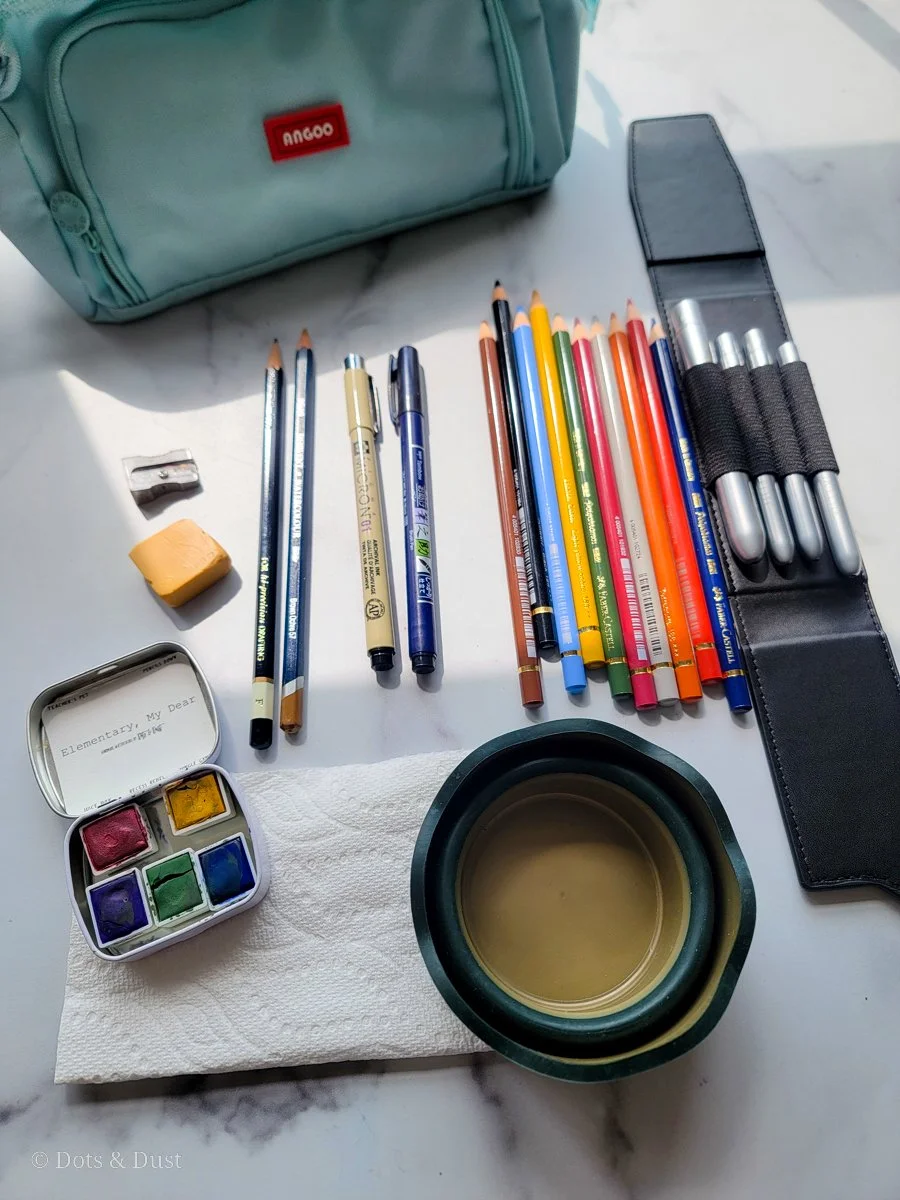
Supplies Needed:
Journaling Bible or Watercolor Paper
Round watercolor brush in a size 6 (Princeton Snap! Brush)
Watercolor paint in shades of purple and green
Cup of water & a sheet of paper towel
Watercolor paint in a grey shade (optional)
Pencil (optional)

Start by loading up your brush with water and then dipping it into your purple paint. If you would like a more muted tone, try mixing a bit of grey paint with your purple shade.
Next, imagine a line where your stem will be. If it makes it easier, you can use a pencil to lightly draw the stem of your flower.
Point the tip of your brush towards where that imaginary stem will be at a 35 to 40 degree angle from your paper. And lightly press the bristles down and then lift straight up. Repeat for all of your petals to form the lavender flower. REMEMBER to always turn your brush and have the bristles pointing toward the stem.
Lavender is a flower where the grouping of petals is greater towards the bottom of the stem. As you move up the flower, the groupings are smaller and the number of petals are less. Just keep this in mind as you are painting. You want to apply more pressure to the bottom petals (making them bigger) than you would for the top petals (smaller). Have fun varying the size of your petals and having some overlap towards the front.
Lastly, let’s make the stem of your flower. Clean your bristles in the water cup and then pick up your green paint. Hold the brush perpendicular to you page a couple of inches below your painted petals and lightly (but quickly) stroke the brush upward towards the center of the petals. Add some other small stems within your flower to show how some of the petals are connected to the main stem.

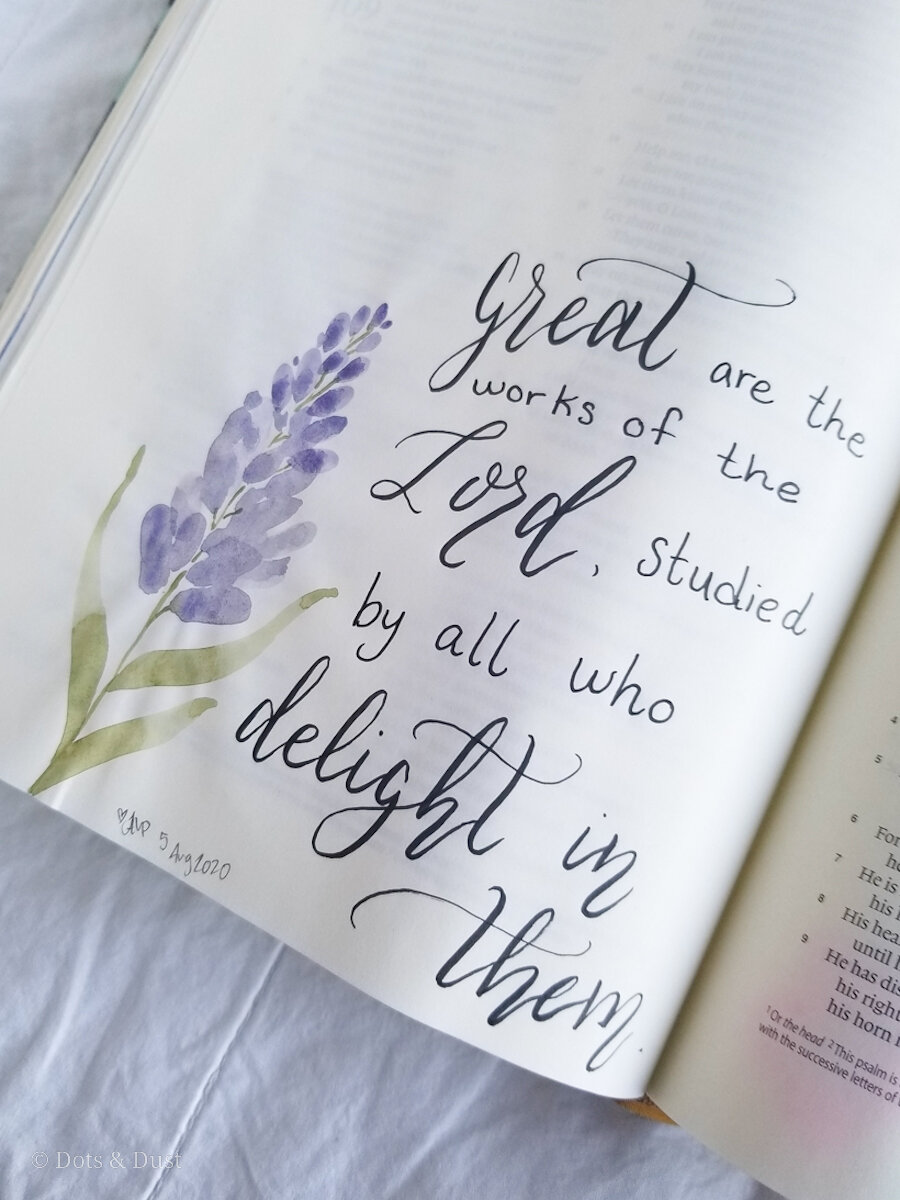
And there ya have it, y’all! A pretty little lavender flower! You can use these in your bible journaling entries or even in your greeting cards. The possibilities are endless.
If you happen to try this tutorial out, please be sure to tag us using the hashtag #dotsanddustwatercolor on social media.
The Latest & The Greatest