How to Make a Simple Watercolor Sketchbook
Disclosure: This post may contain affiliate links, meaning, at no additional cost to you, I will earn a commission if you choose to click through and make a purchase. Also, this blog post is in collaboration with Legion Paper and some supplies were gifted to me.

As I plan to explore mixed media in the future, I needed a sketchbook that was comprised of hot press watercolor paper. Since I did not currently have any, I thought it would be a good idea if I tried my hand at it. Following Rebel Unicorn Craft’s tutorial, I decided I would make my very own! In this blog post, I will show you how I made my very own simple watercolor sketchbook.


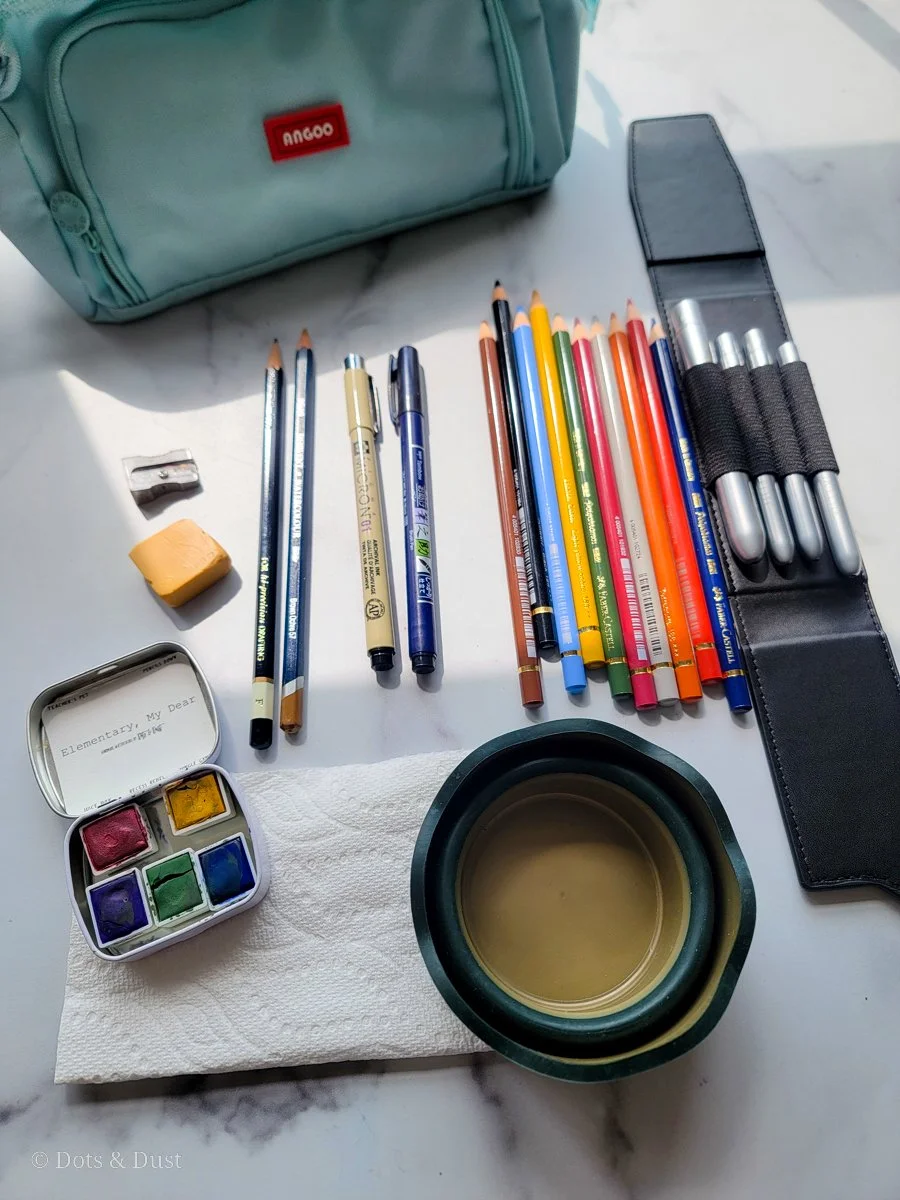
Supplies Needed:
5-6 Sheets of blank watercolor paper
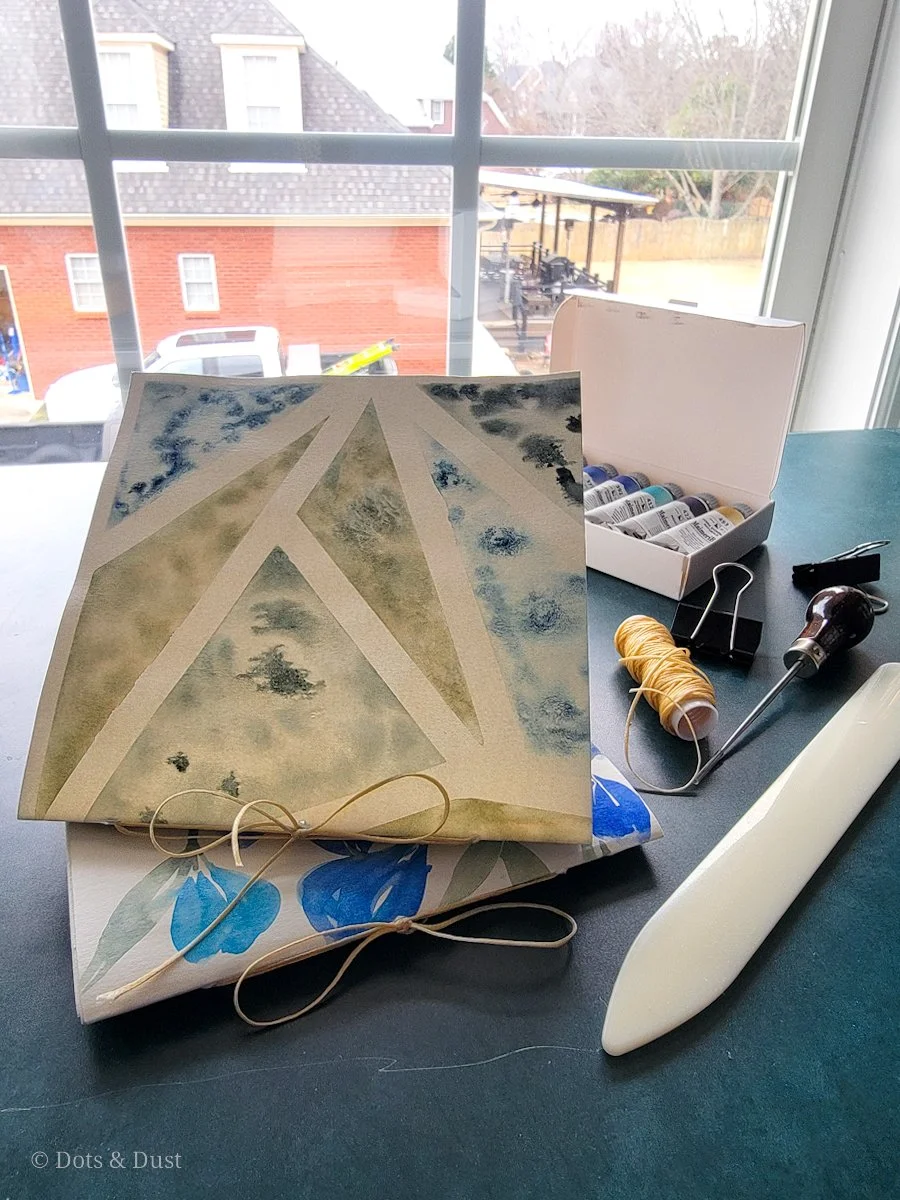
Extra sheet of painted artwork (cover for your sketchbook)
bone folder
2 binder clips
Scrap cardboard
gourd awl
hand sewing needle
waxed thread or embroidery floss
scissors
(You can get the same handy book binding kit from Amazon that I purchased here)
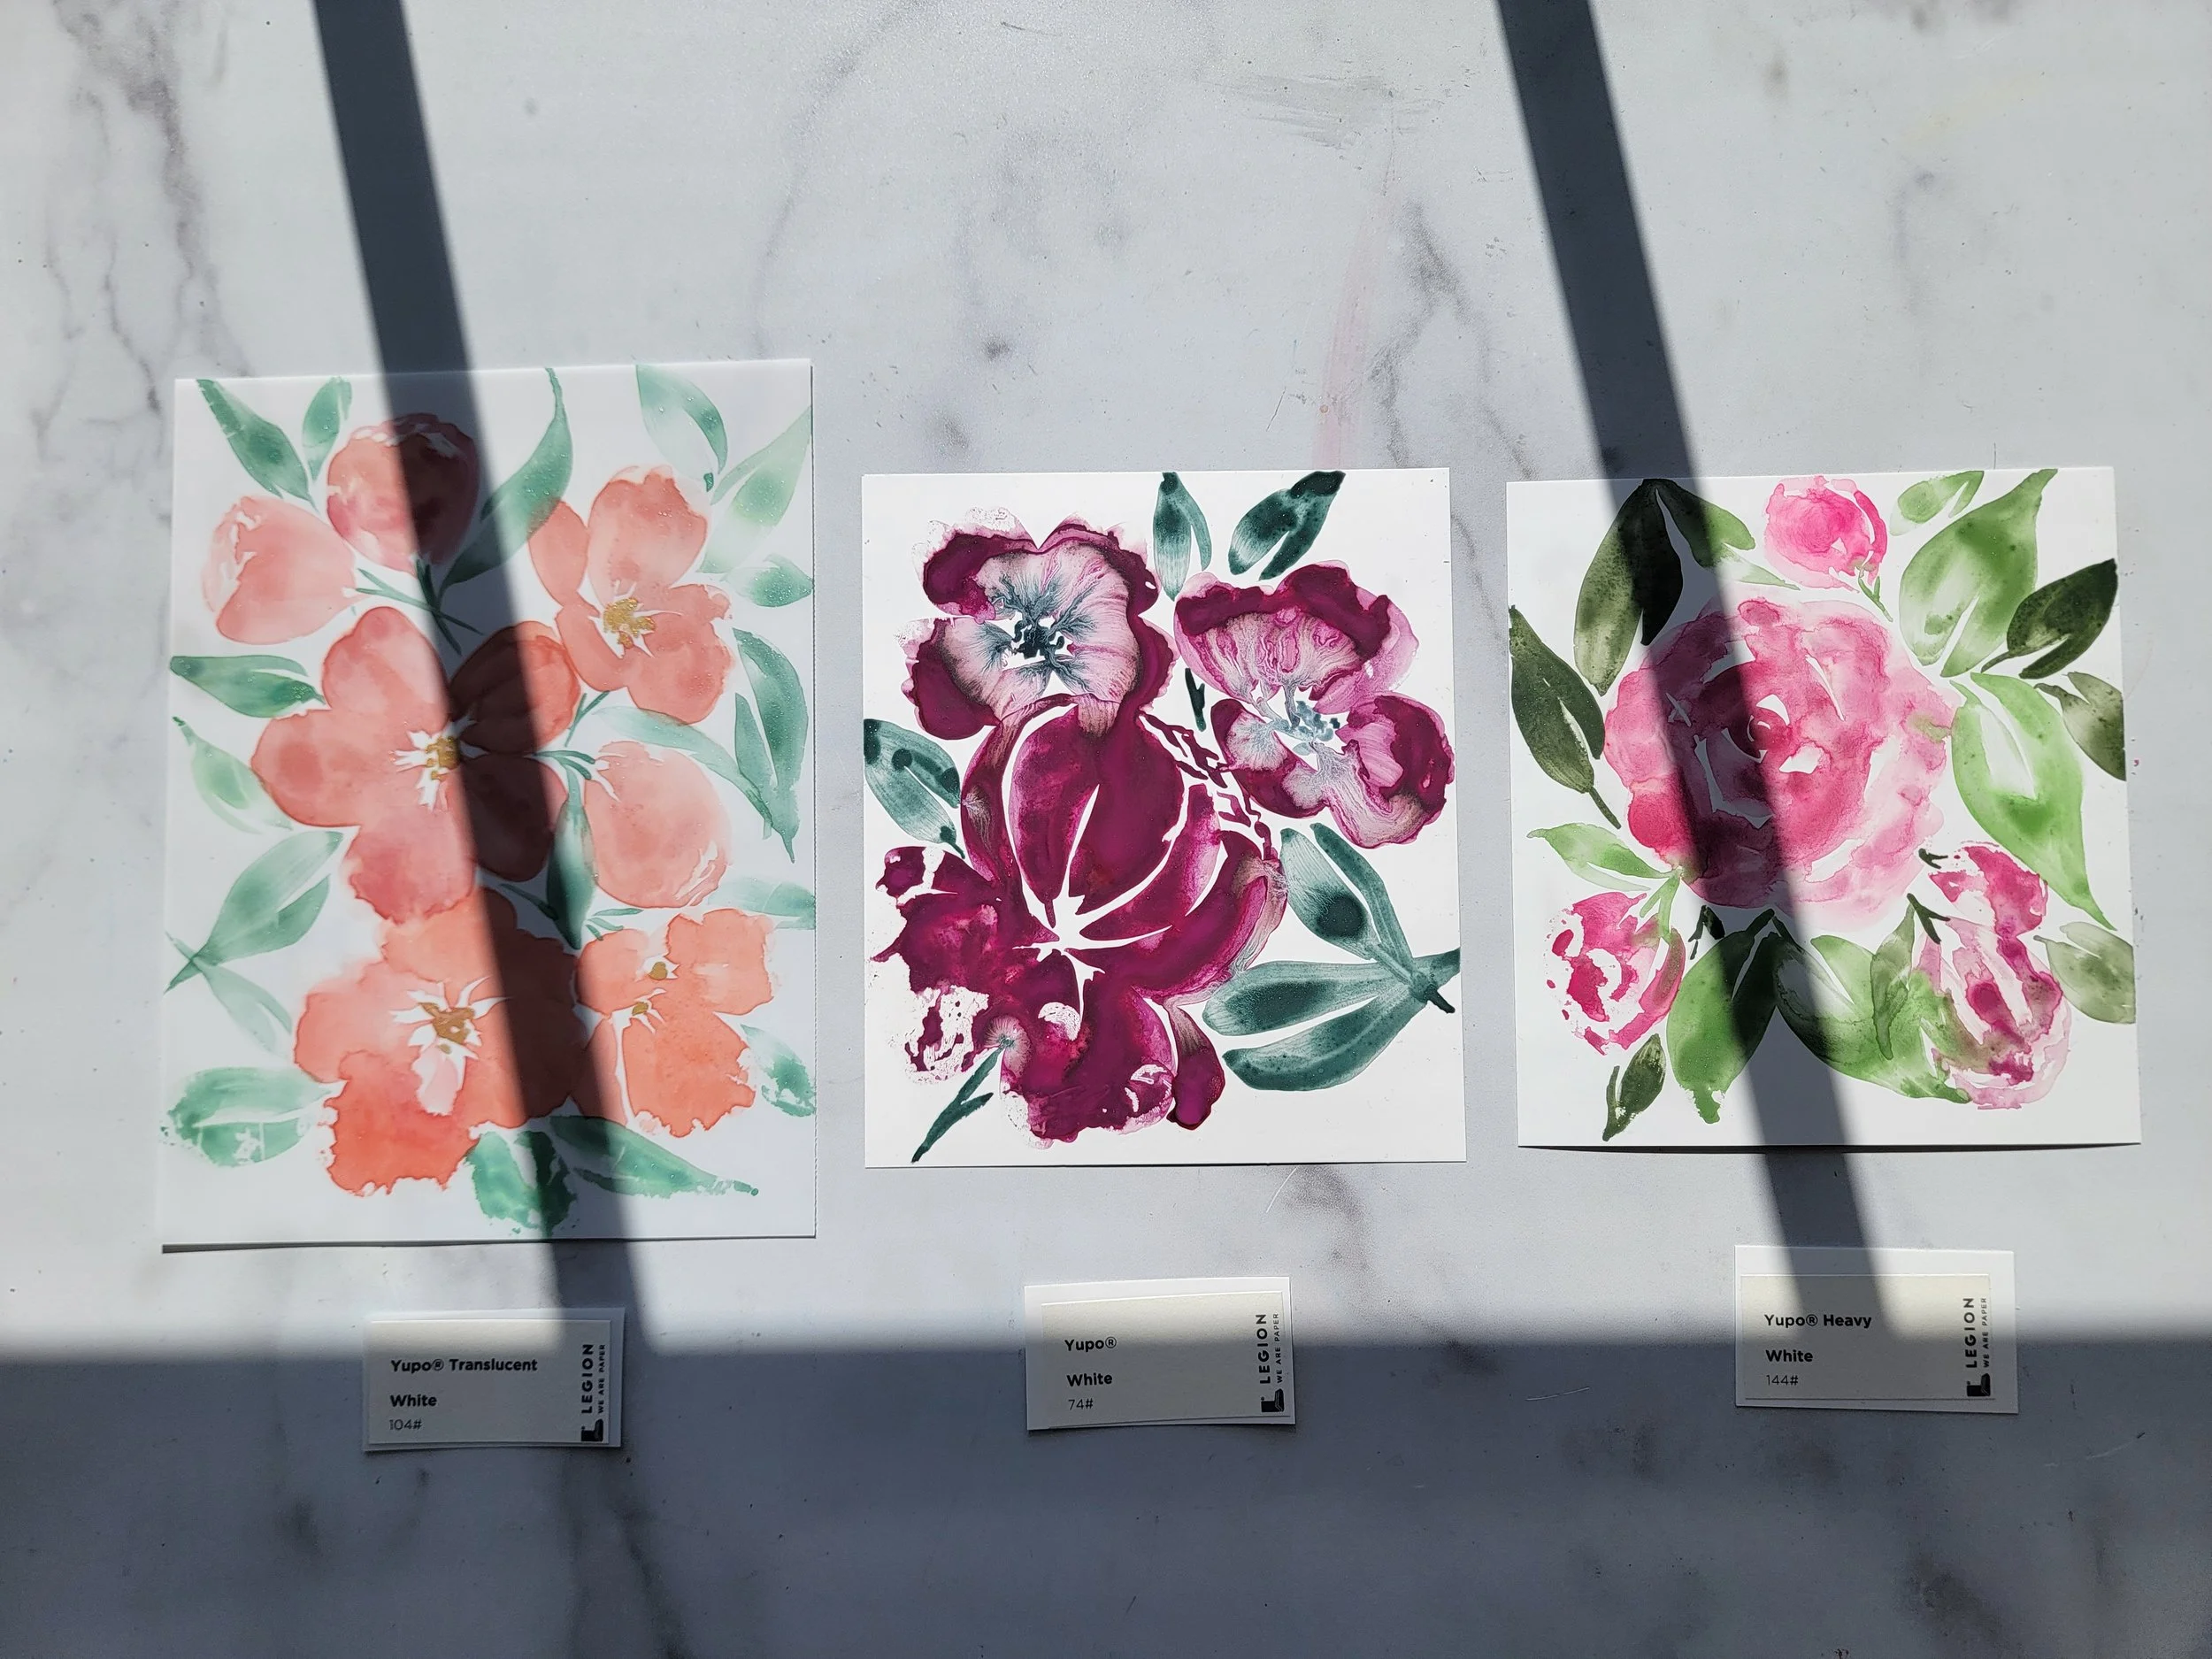
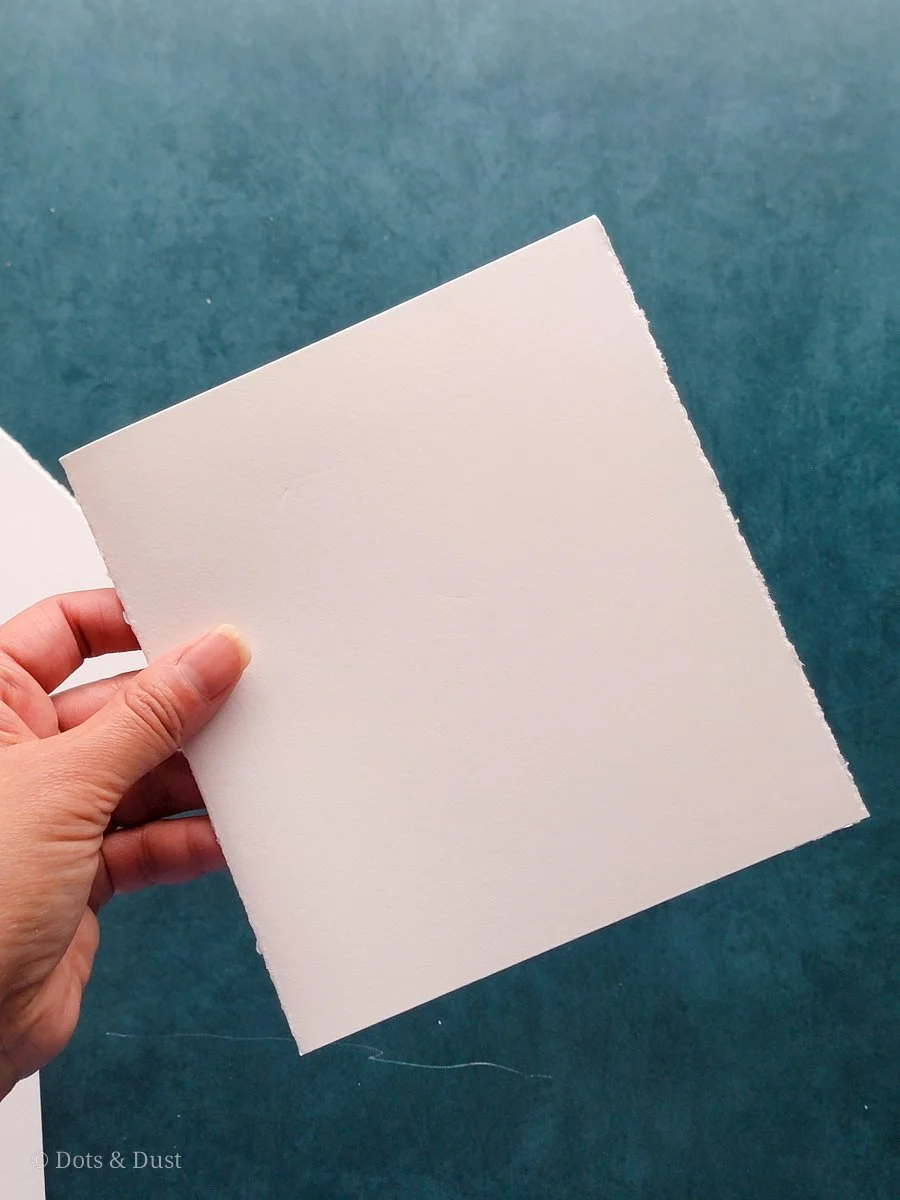
Start by cutting your blank watercolor paper to the desired size that you would like. For this particular sketchbook, I was gifted sheets of Stonehenge Aqua Hot Press Paper by Legion to use. I chose to cut down each sheet of hot press paper to the dimensions of 6” x 11.”
Next you are going to cut the cover of your sketchbook. I am using old practice watercolor sheets that I had lying around my studio. For my cover, I cut down the sheet to the dimensions of 6” x 12.”
Take the longer end of each sheet (blanks and cover) and fold them in half. You can use your bone folder to crease each one at the fold.


4. Once all of your watercolor sheets and outside cover are folded, place each sheet within one another at the folds. Remember to place all of the blank sheets within the painted cover so that the cover sheet is on the outside.
5. Grab your binder clips and clip all of your sheets together (one on the left of the folded crease and one on the right). Place a few scrap cardboard pieces on your workspace and then place your sketchbook on top.
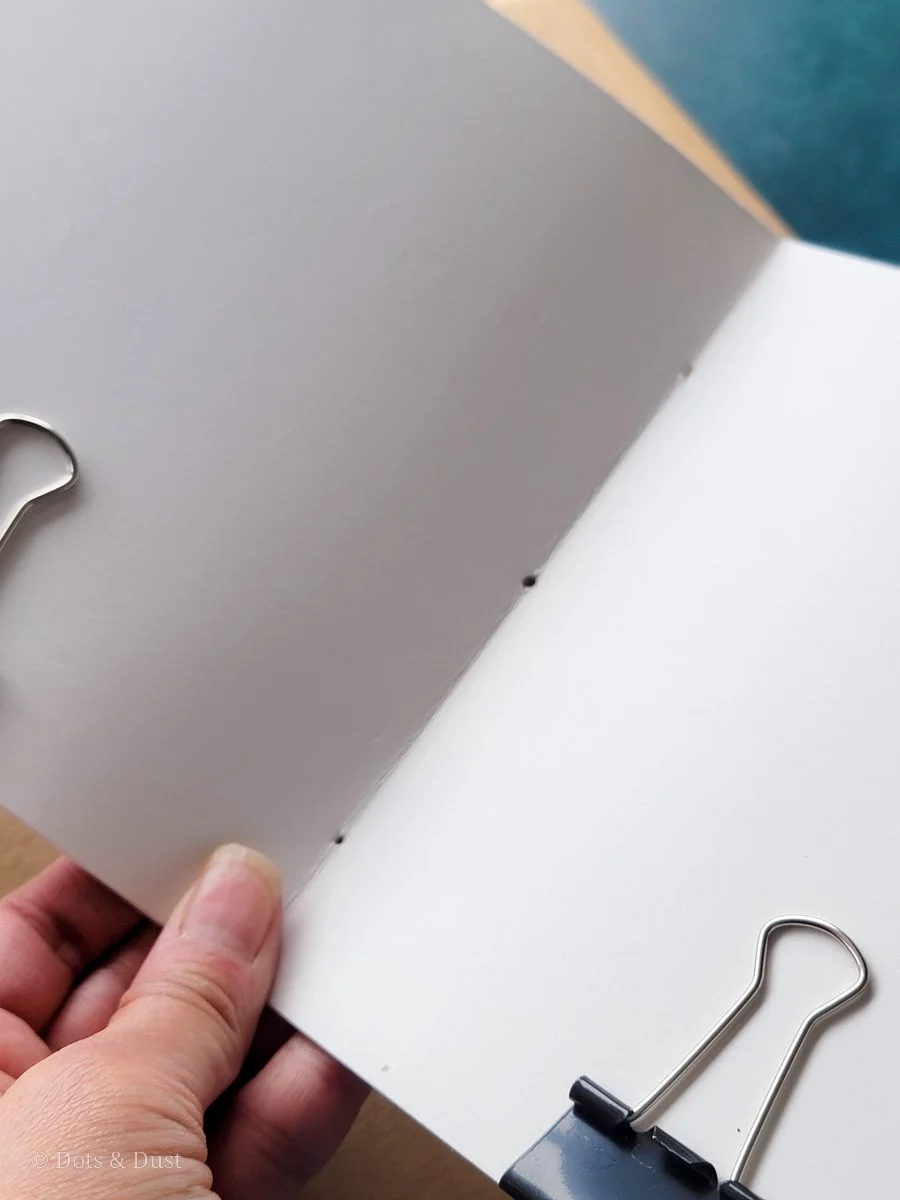
6. You will now use your gourd awl to poke 3 holes on the inside crease of your sketchbook: one in the center, one near the top, and one near the bottom. You can either measure to make sure the holes are evenly spaced or you can just eyeball it like I did. Make sure that you are poking through ALL of the blank sheets and cover of your sketchbook.


7. Thread your needle with waxed thread (or embroidery floss) and leave a small tail near the eye of the needle.
8. Begin threading together your sketchbook. Start by pushing the threaded needle through the center hole from the outside of the sketchbook. Pull through a good amount of thread (it needs to be long enough to bind together the entire sketchbook). Go down the bottom hole (from inside sketchbook to outside) and then back up (outside to inside) through the top hole. Proceed to thread down and up through the next following holes: Center, Bottom, Center, Top, Center. You should end up with both the tails of your thread at the center hole and on the outside of the sketchbook.
9. Cut the thread from the spool and tie both tails into a simple shoestring bow.
10. Finish with a double knot to secure. Trim any excess thread.
11. Viola! You are finished!


These are so easy to make and are small enough to slip in your bag for any travel sketches you may want to do.
For a more detailed look at how I created this, see the video below:
The Latest & The Greatest