Basic Brushstrokes: How to Paint a Tree
Disclosure: This post may contain affiliate links, meaning, at no additional cost to you, I will earn a commission if you choose to click through and make a purchase.

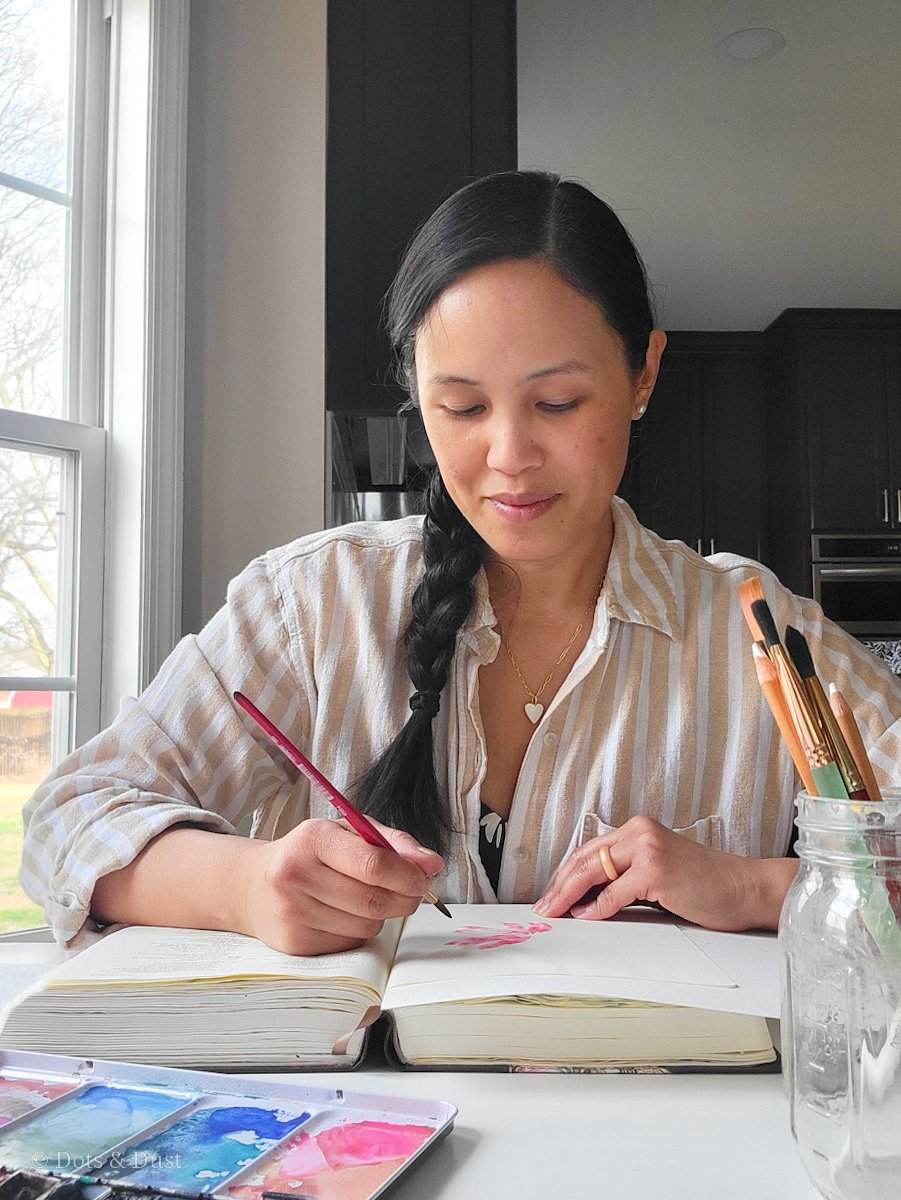
My most popular videos on Instagram are a part of my Basic Brushstrokes Series. In these videos, I teach you how to paint simple elements by breaking it down into super easy, basic brushstrokes. And with over 69,000 views and 4,000 saves (Holy Guacamole), my “Basic Brushstrokes: Tree Edition” is the IG reel that deserves a permanent spot on the Dots & Dust blog.
So if you are ready to learn how to make these simple trees using only two strokes, this tutorial is for you.
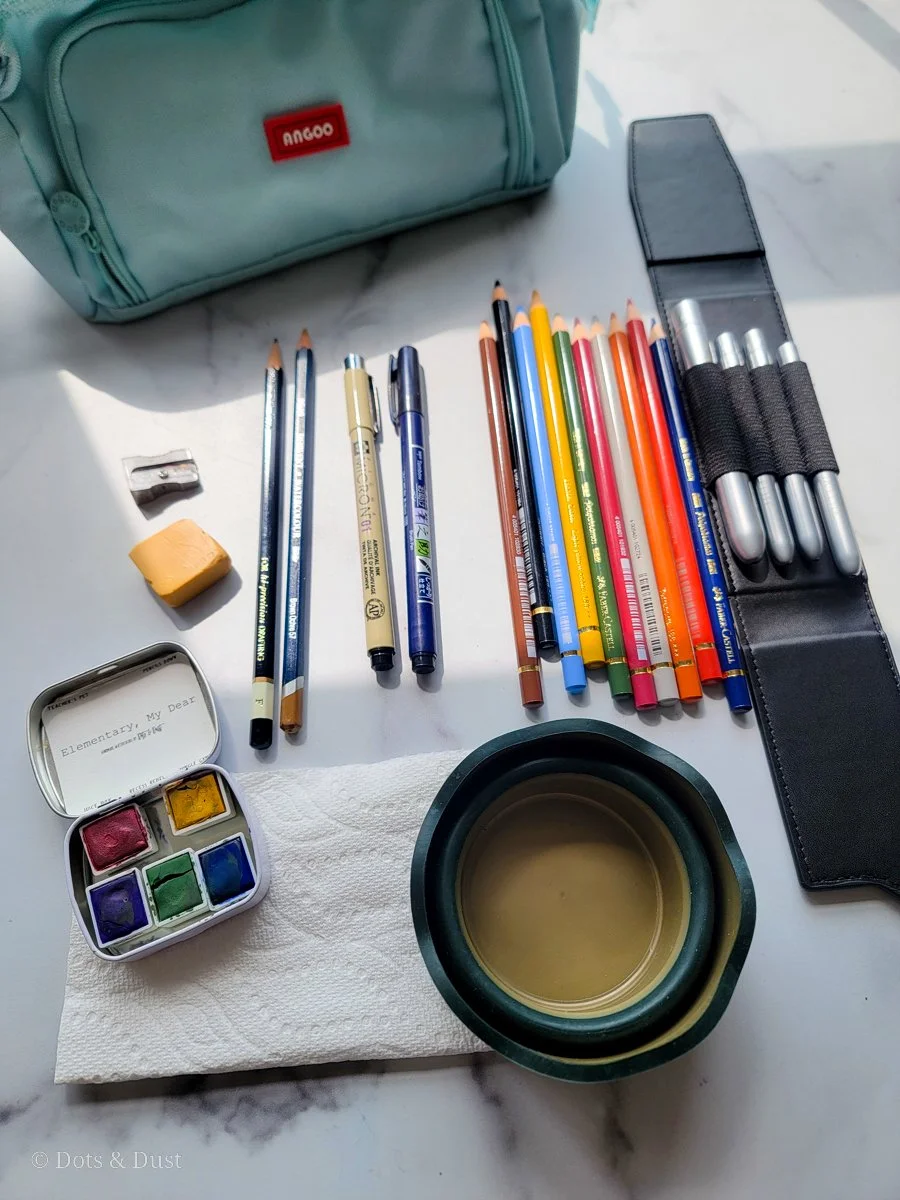
Supplies Needed:
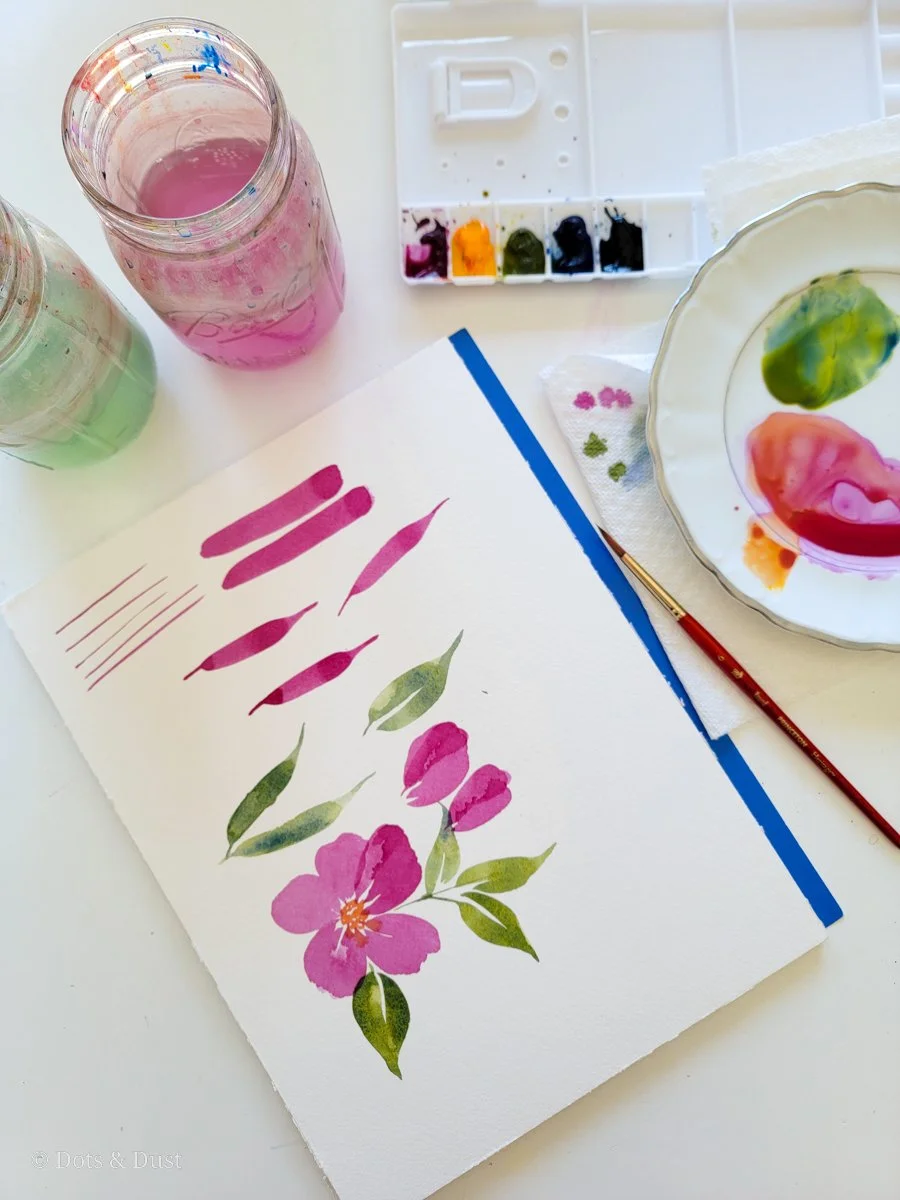
Basic Brushstrokes Practice:
Long Thin Lines: Hold your brush perpendicular to the paper. Using just the tip of the brush (no pressure applied), drag the tip across your paper to make your long, thin lines. Do this about 5 to 10 times to see how thin of a line you can paint.
Dashes and Random Marks: Holding your brush on its side and using the belly of your brush (the side of the bristles), paint dashes by applying medium pressure. Use a dabbing motion to create your random marks and dashes.
Put it all together:
Now you are ready to paint your tree! Start by painting a long thin line with the very tip of your brush. Remember to apply little to no pressure and move quickly across your paper.
Then at the top of your line, start adding a few small dashes. Make sure there is space between your dashes and alternate from the left to the right of your line.
Keep painting your dashes along your long line as you move down the tree. Keep in mind that as you move down your tree, you want to work in a triangular shape. That means as you work down the tree, your base will ultimately be wider than the top. Don’t be afraid to paint over existing marks that you have made. When you layer your dashes, it gives the illusion of a fuller tree.
Once you reach the bottom of your tree, go back and add dashes and marks to clean up any large white spaces between branches.
For a more detailed look at how I created one, see the video below:
I paint these types of trees A LOT!
Try them out on greeting cards or gift tags during the holidays!
If you happen to try this tutorial out, please be sure to tag us using the hashtag #dotsanddustfam on social media and Instagram.
What do you think?
Will you try it out?
And if you have any requests for what you’d like to see me paint next, comment below!
The Latest & The Greatest