How to Paint Watercolor Wiggly Flowers
Disclosure: This post may contain affiliate links, meaning, at no additional cost to you, I will earn a commission if you choose to click through and make a purchase.

I know that sometimes painting watercolor florals can seem a bit daunting. So that is why I am going to share with you how to paint these simple “wiggly” flowers that you can use for just about any occasion.
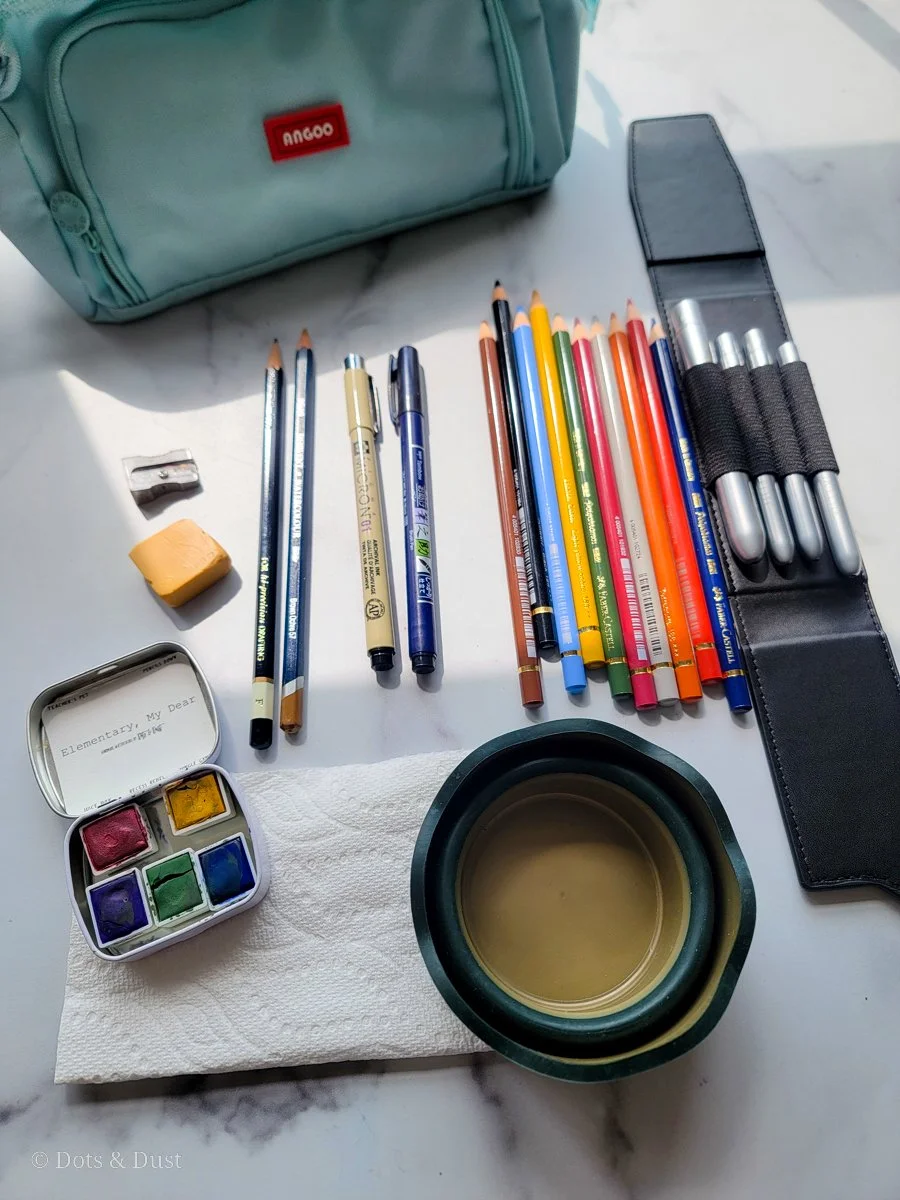
Supplies Needed:
Two Jars of Water
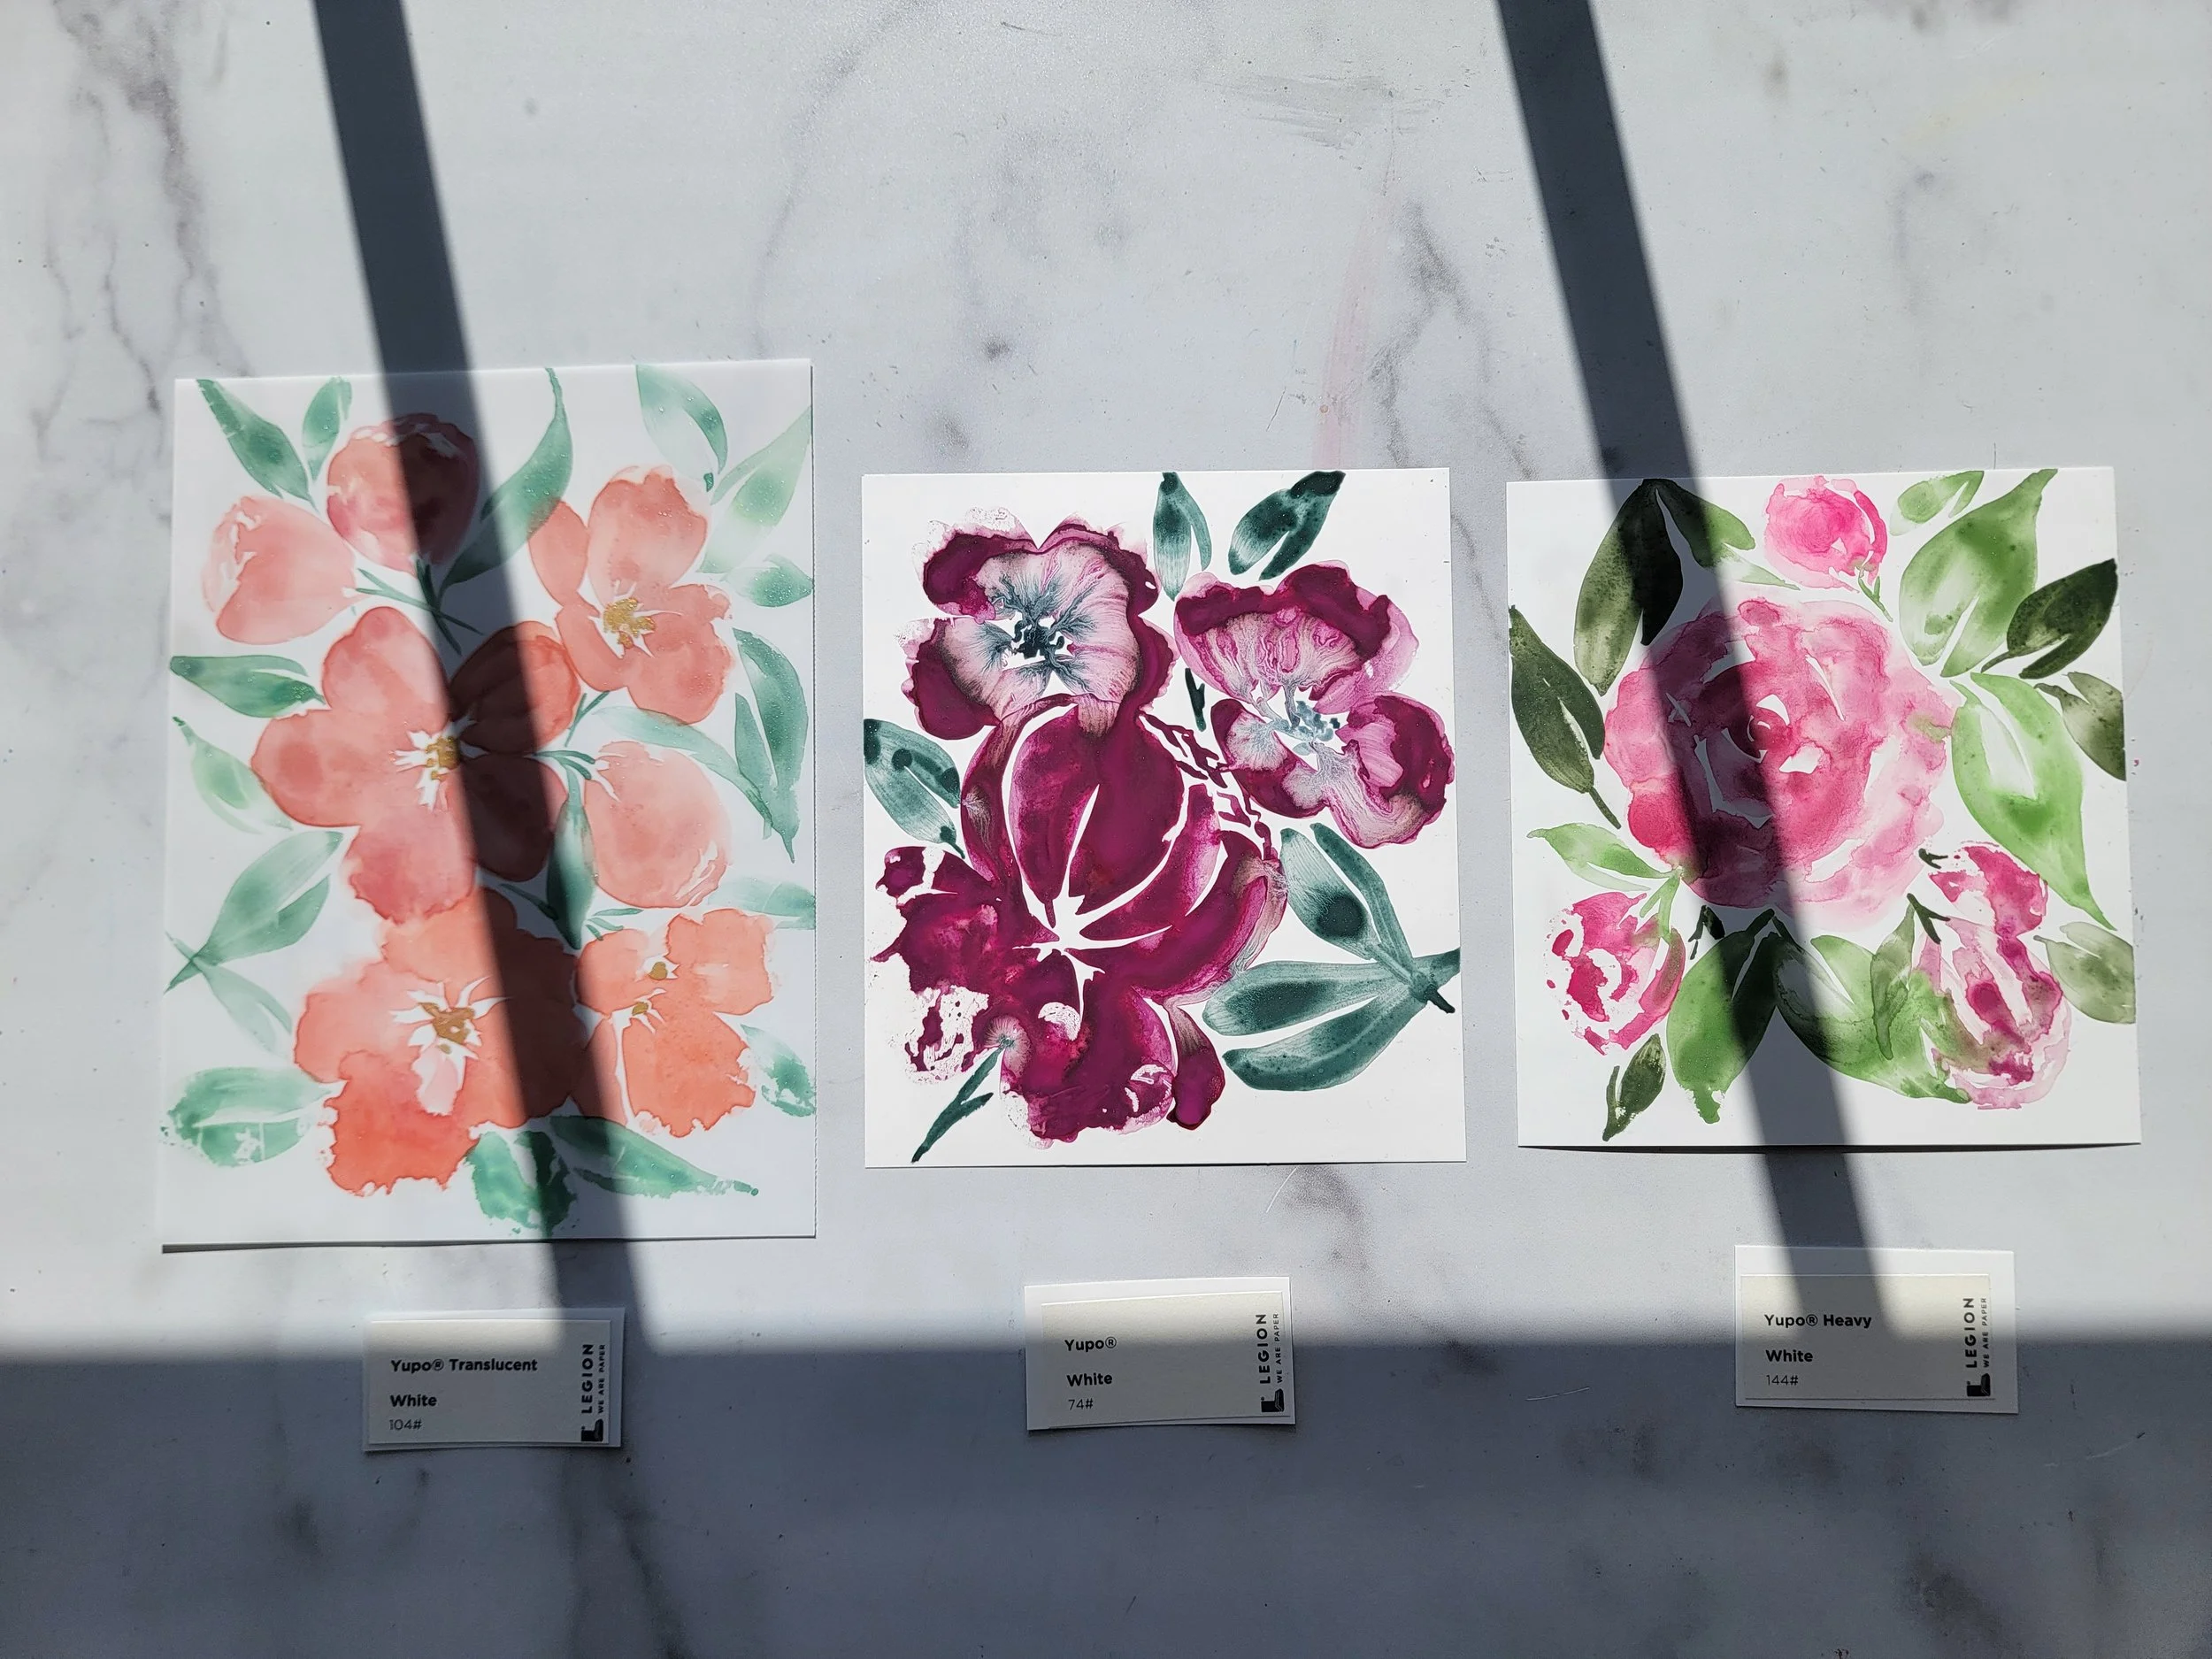
Watercolor Paints (I am using Dots & Dust colors from our “Home Sweet Home” paint set but you can use any colors of your choice)
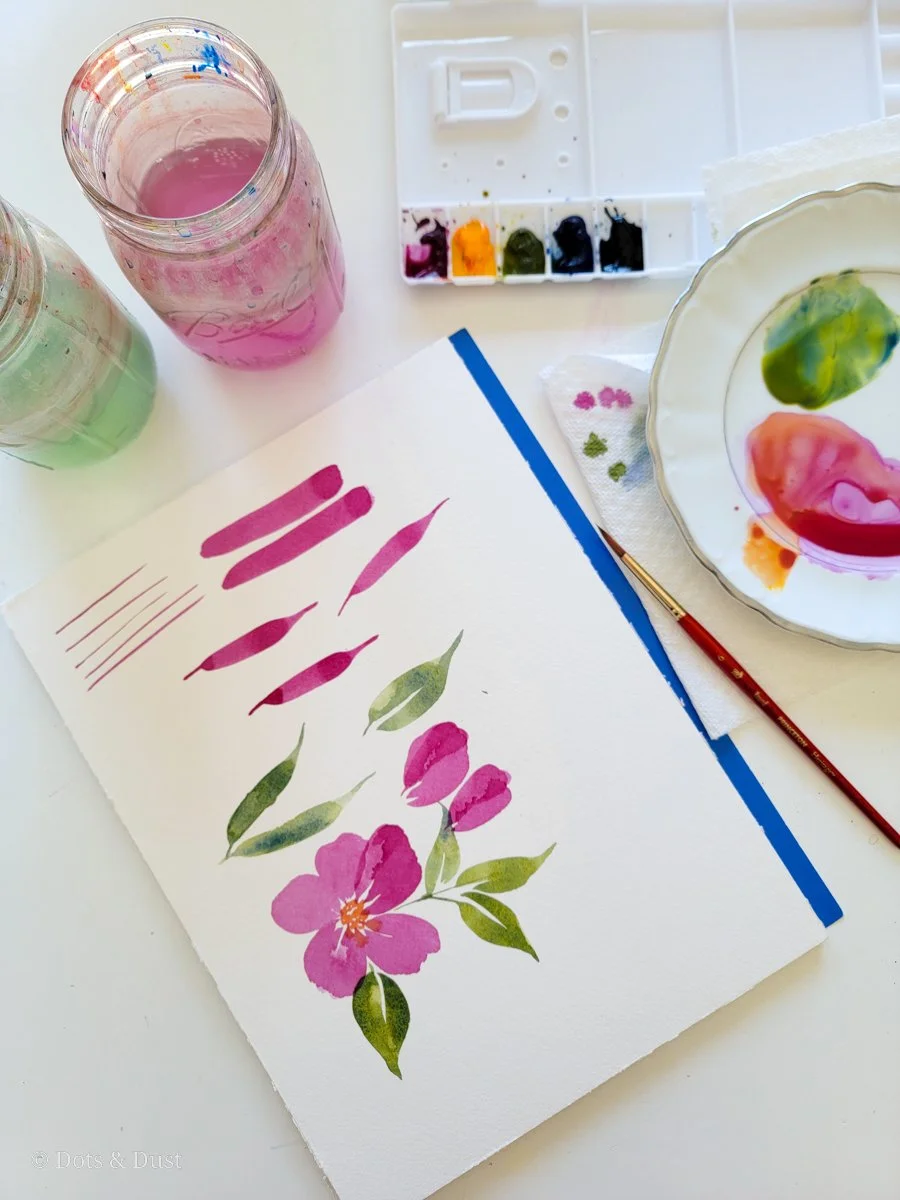
Basic Brushstrokes & Techniques to Know:
Wiggly Petals
Small Dots
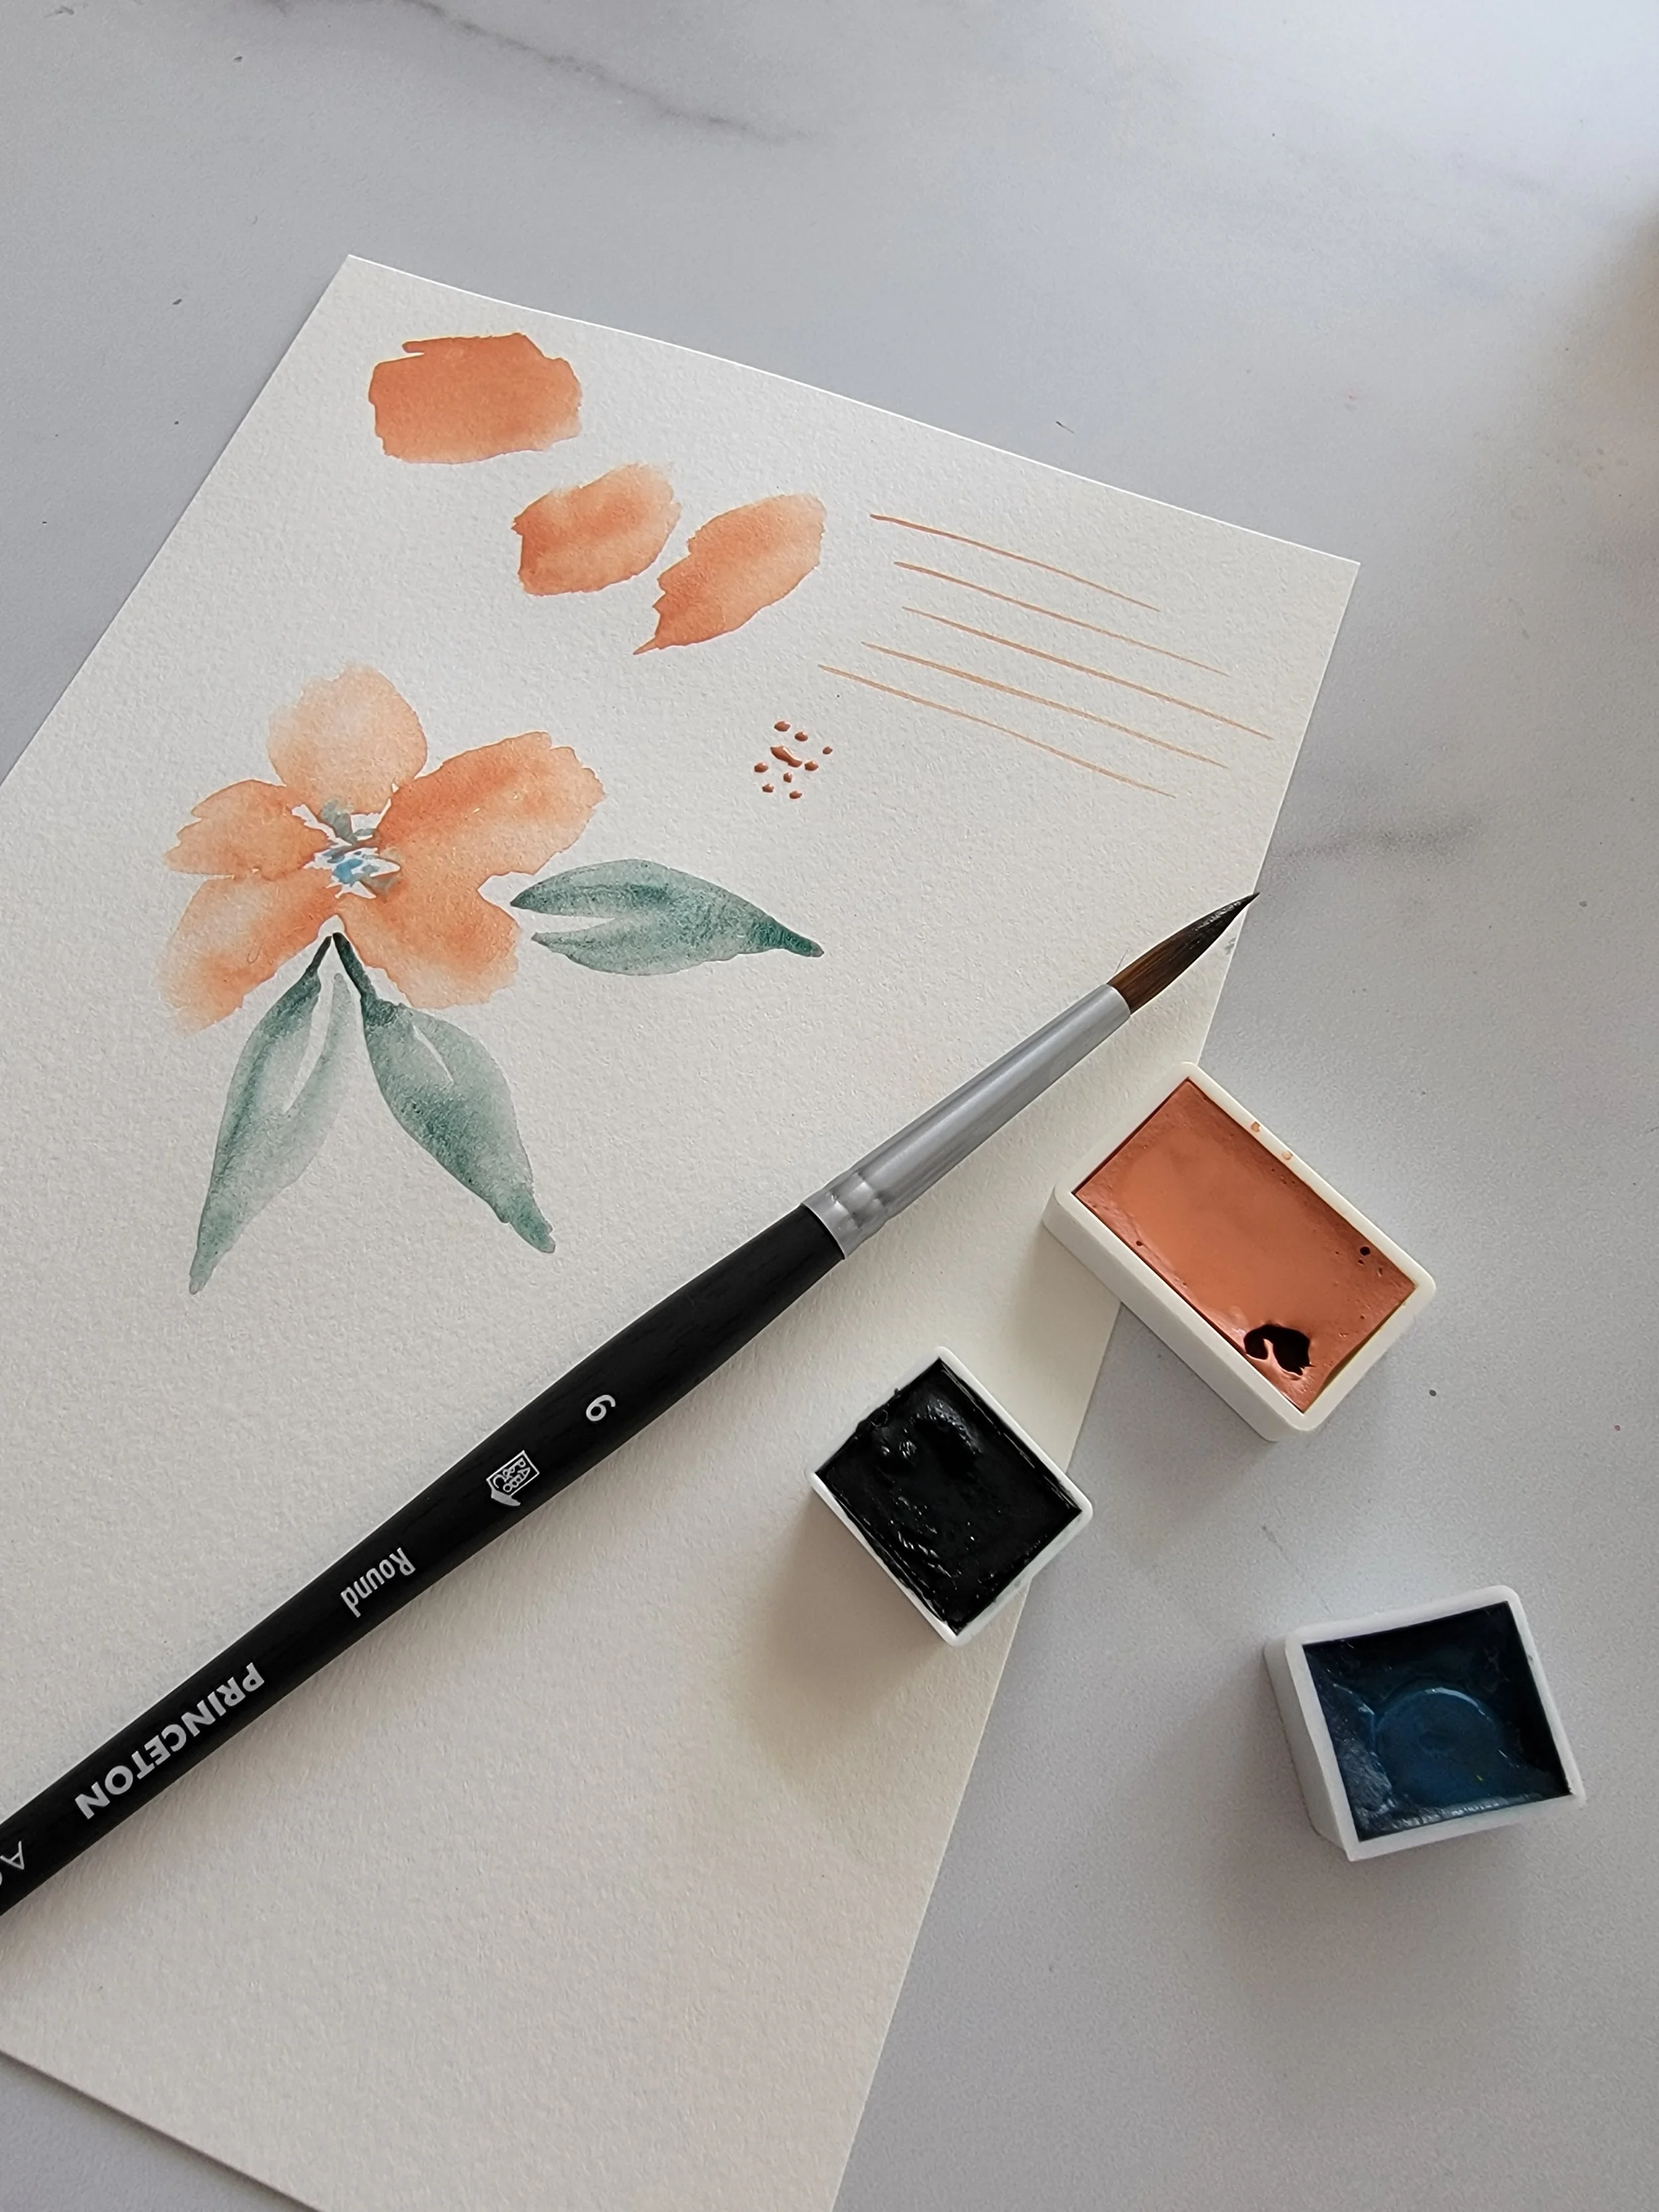
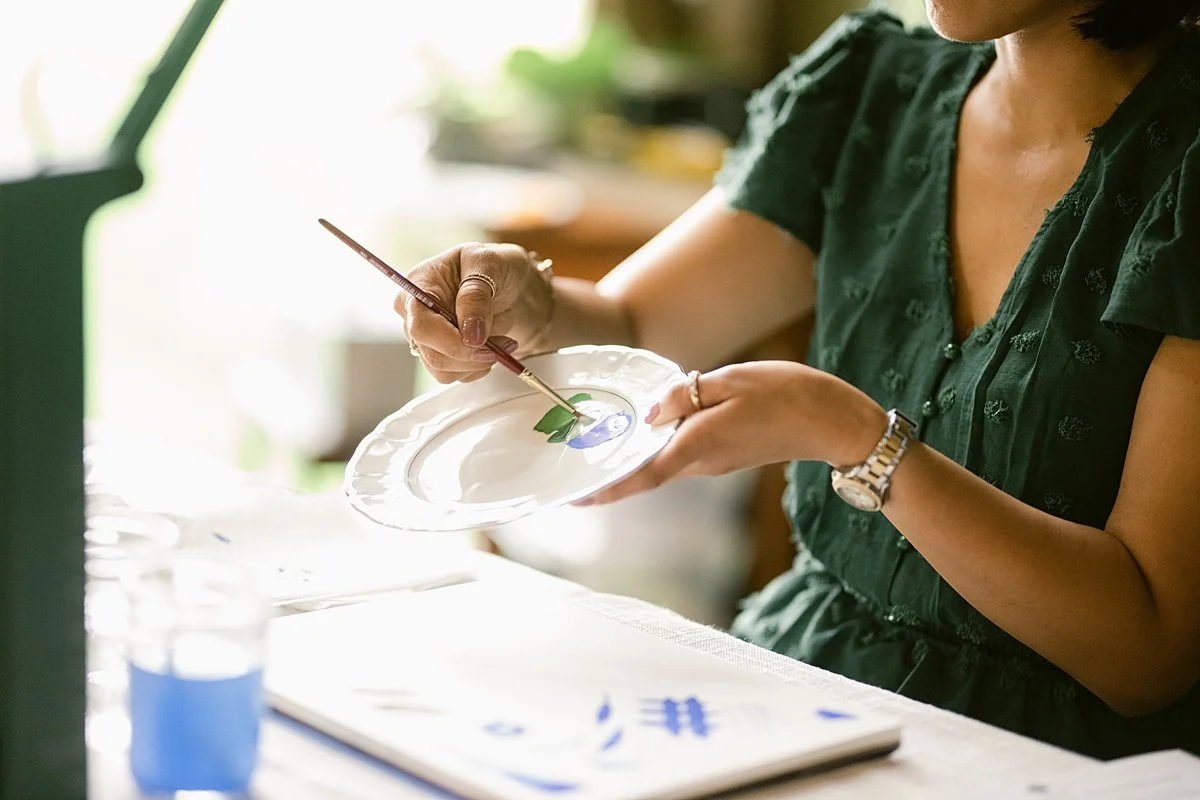
Start by loading up your size 6 round brush with the paint color of your choice. Begin practicing your basic brushstrokes and techniques to warm up your hands.
Once you are warmed up, it’s time to start painting some flower petals. Now remember it is important to have the tips of your brushes bristles ALWAYS painting to the center of the flower. Paint a tiny line. Then from that line you will apply pressure and wiggle your brush back and forth away from the center of the flower and back down again to where you started painting. This is your first petal.
Keep repeating step 2 to paint your additional petals next to one another. BE CAREFUL. You want to remember to leave a small amount of white space next to each petal and in the center of your flowers where your petals meet.
Once all petals are painted, load your brush with another paint color and paint small dots in the center of the flower to represent the flower’s stamen.
Finally, use your painting skills for basic compound leaves to paint in your greenery around your flower.
For a more detailed look at how I created this, see the video below:
If you would like to see the original video with full audio explanation, please visit my Instagram Reel here.
Anything else I should try painting next? Comment below with all your ideas!
The Latest & The Greatest