
Watercolor Basics: Wet on Wet Technique
Disclosure: This post may contain affiliate links, meaning, at no additional cost to you, I will earn a commission if you choose to click through and make a purchase.
There are two main techniques that are important to understand and practice when you are brand new to watercolor: wet-on-wet and wet-on-dry. Today, I am going to focus on the wet-on-wet technique as I explain what it is and how and when you would want to use it.
For my visual learners, check out our video below:
What is the “Wet-on-Wet” technique?
Wet-on-wet is essentially exactly what it sounds. It is the technique of adding wet paint to a wet surface. That wet surface can either be a layer of wet paint or it can be just plain water that was placed on your paper first.
How do you do it?
There are different ways of actually applying the wet on wet technique. My favorite methods include dropping in color and pulling color.
When dropping in color, start with painting on a thin layer of either just clean water or a light value of your paint. When you tilt your page, you want the page to just glisten. Avoid having too much water (forming a water droplet when the paper is tilted) or a puddle on your page.
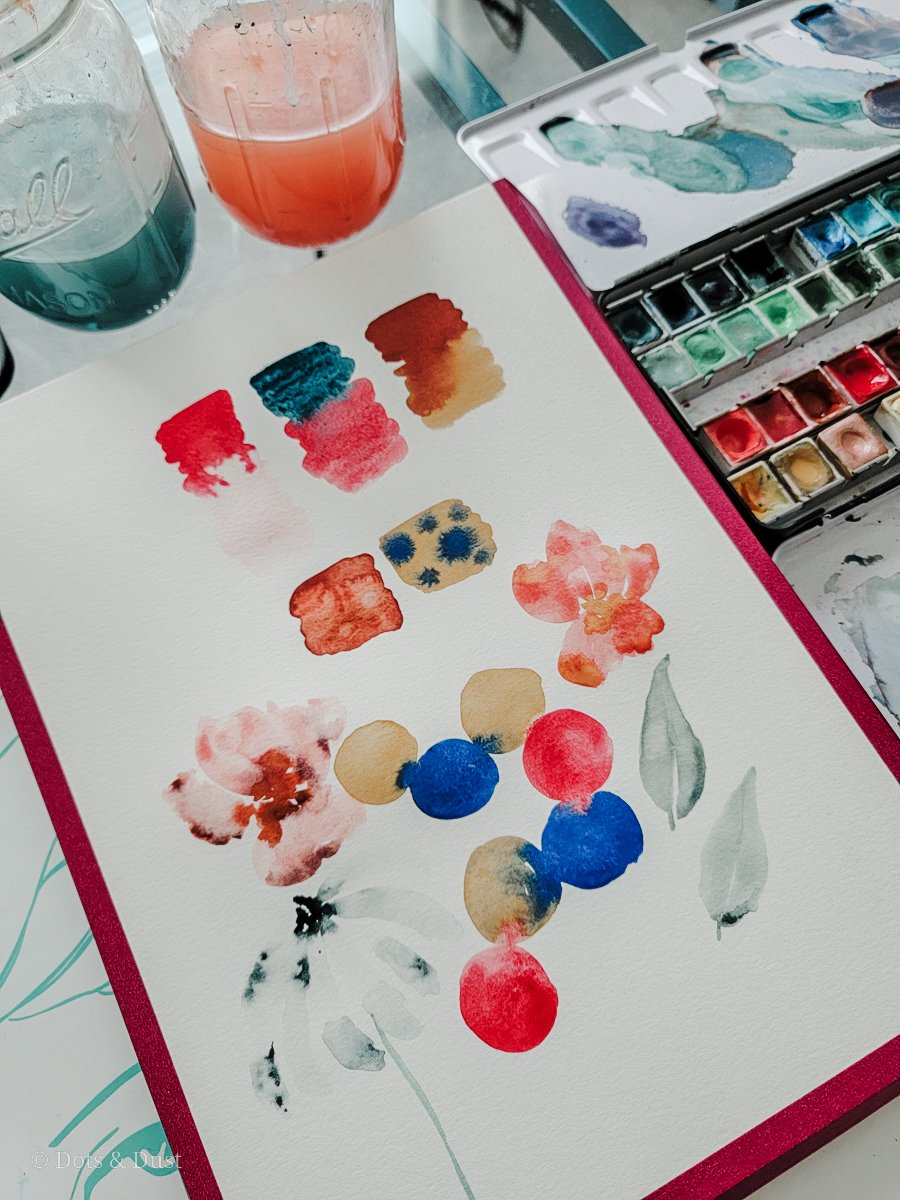
Then take another color that is darker than the first, load it up on your brush, and drop in color by just tapping the tip of your brush into the first layer. You should see the color burst or “bloom” into that lighter color.

To pull color, start by painting a swatch of color on your paper. Quickly grab a different paint color (or clean water) and paint a swatch right below the previous one and just touch that wet boundary. Start painting downward, pulling the color down the paper. This is the same method that we use for a gradient or a Grade A wash (see previous blog post on brushstrokes).

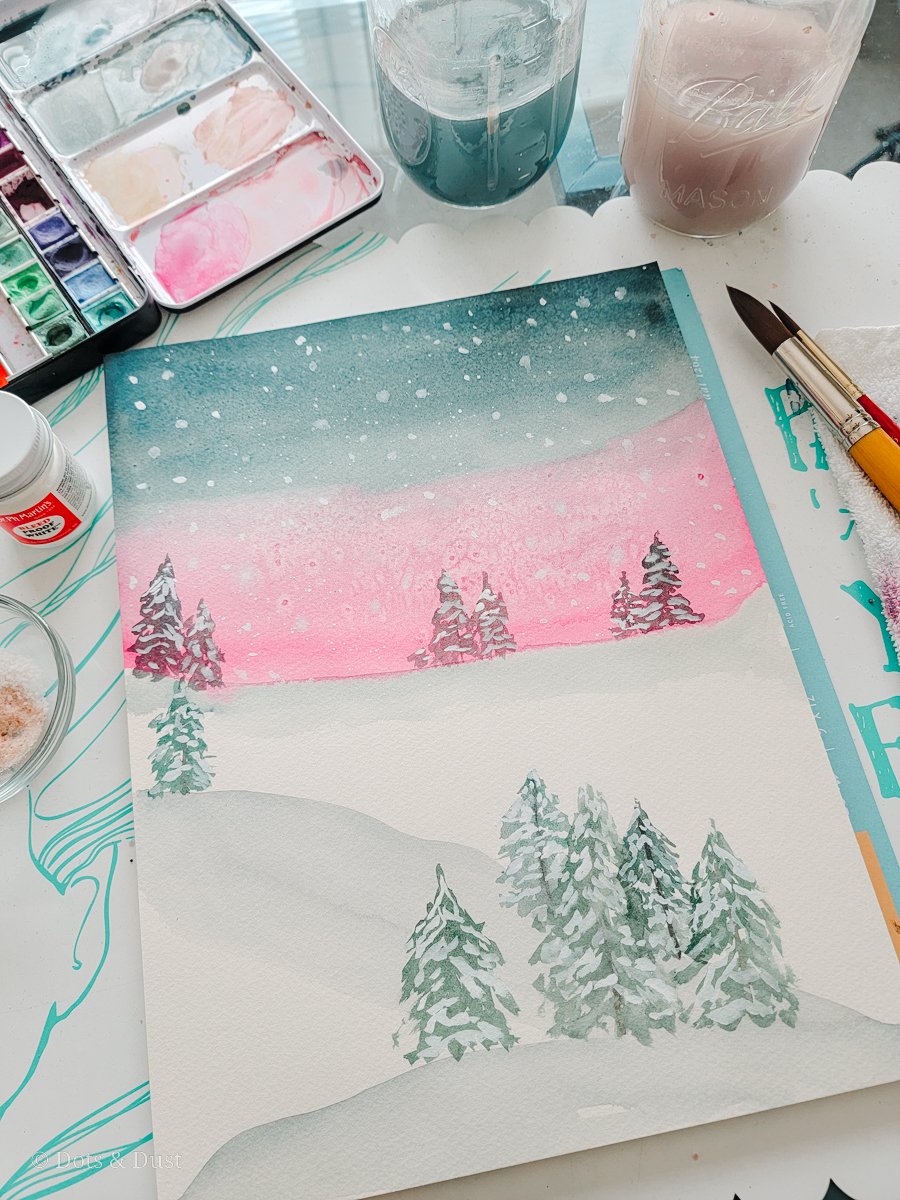
As you can see, both wet on wet methods are wonderful to add pops of color and help create soft blends and smooth transitions from one color to the next. You can see how this technique was used to blend the colorful sky for this wintery piece:
When do you use it for watercolor florals?
Anytime you want to add interesting pops of color or “blooms” then using this technique will truly make your floral pieces stand out.
Try painting petals and then adding bursts of bright color in the centers by dropping in the color while the paint is still wet. You can see how I did this with these roses by adding in brighter colors just in the center of the flower (pictured below):

I love adding in the stamen (centers) and leaves of flowers while petals are still wet because I find that the way the colors bleed into one another creates a sense of magic and wonder to a watercolor piece.
Any other tips?
The one thing you want to keep in mind when you are using this technique is that if there is too much water on your page initially, it can prevent the pretty blooms and bleeds from happening. Too much water on your page will create a rounded puddle, and that puddle will act as a barrier keeping the pigment from spreading. This can also cause “hard lines” in your work when it dries.
Make sure to apply just enough of the paint on your first layer to add shine to your page but not a puddle. If the paint in running or creating a droplet, then you have added too much water on your paper.
Also, if you are still struggling with the lack of blooms or bleeds, it may be the quality of your paper. Cheap paper that is not 100% cotton can cause the paint to just sit on the surface making it very easy for you to mistakingly create a puddle of paint. When you have 100% cotton paper, you will see that it will soak the paint/water away from the surface, but still manage to keep your paper just shiny enough for you to drop in more paint. Because there is no puddle to act as a barrier, the minute you drop in more paint, you will instantly see the colors bleed and bloom beautifully. This also can help your bleeds travel further on your page as well.
There you have it, folks!
Join me next week as I dive into the second technique of watercolor, wet on dry.
The Latest & The Greatest