Water Control with Watercolors
Disclosure: This post may contain affiliate links, meaning, at no additional cost to you, I will earn a commission if you choose to click through and make a purchase.

This week, I have been spent A LOT of time on Instagram addressing the importance of practicing water control. One of the most common frustrations for any beginner in watercolor is understanding when you have too little or too much water on your brush. And normally I would just increase your frustrations by saying, “It really depends,” but today I am going to try my best to explain when you REALLY know you have TOO much water on your brush. And I will also dive into color values & how to practice nailing “pigment to water” ratios.
So here we go! The five tips I would give any beginner to master water control.
(For my “visual learners,” here is a video where I demonstrate for you.)
Tip #1…Get to know your brushes

Every paintbrush is completely different, even if they are the same size. With that in mind, it is always a great idea to take some time to test out your brushes to get a feel for how much water they are retaining. Some paint brushes are actually made to be “thirstier” and hold on to larger amounts of water or pigment.
For example, I own two Princeton Round size 6 brushes but both are from two different series. One is from the Princeton Heritage 4050 series and the other is from the Princeton Neptune 4750 series. If you were to visit their website, you can see based off of their descriptions that the Neptune 4750 series brushes hold the most water compared to those from Heritage 4050. On the other hand, the Heritage 4050 has excellent color holding capacity that is not seen in the Neptune 4750.
Tip #2…Always swipe off excess water when rinsing
This is a big one! Every time you rinse your brush off or dip it into your water jar, swipe off the bristles on the lip of your jar to remove any excess water. You want to avoid having large droplets of water forming at the tip of your brush. Unless your intentions are to place a ton of water down to paint a very large area of your paper, then you want to always swipe.
Just remember, if there is a water or paint droplet visibly forming on the tip of your brush, you can easily remove that by lightly dabbing the bristles on a paper towel or cloth.

Tip #3…Avoid puddles. Shoot for shiny.
Puddles are great for splashing in on rainy afternoons, but they are not your friend when it comes to watercolor. To achieve those gorgeous wet on wet blooms and soft gradients, you want to add just enough water to your paper to create shine.
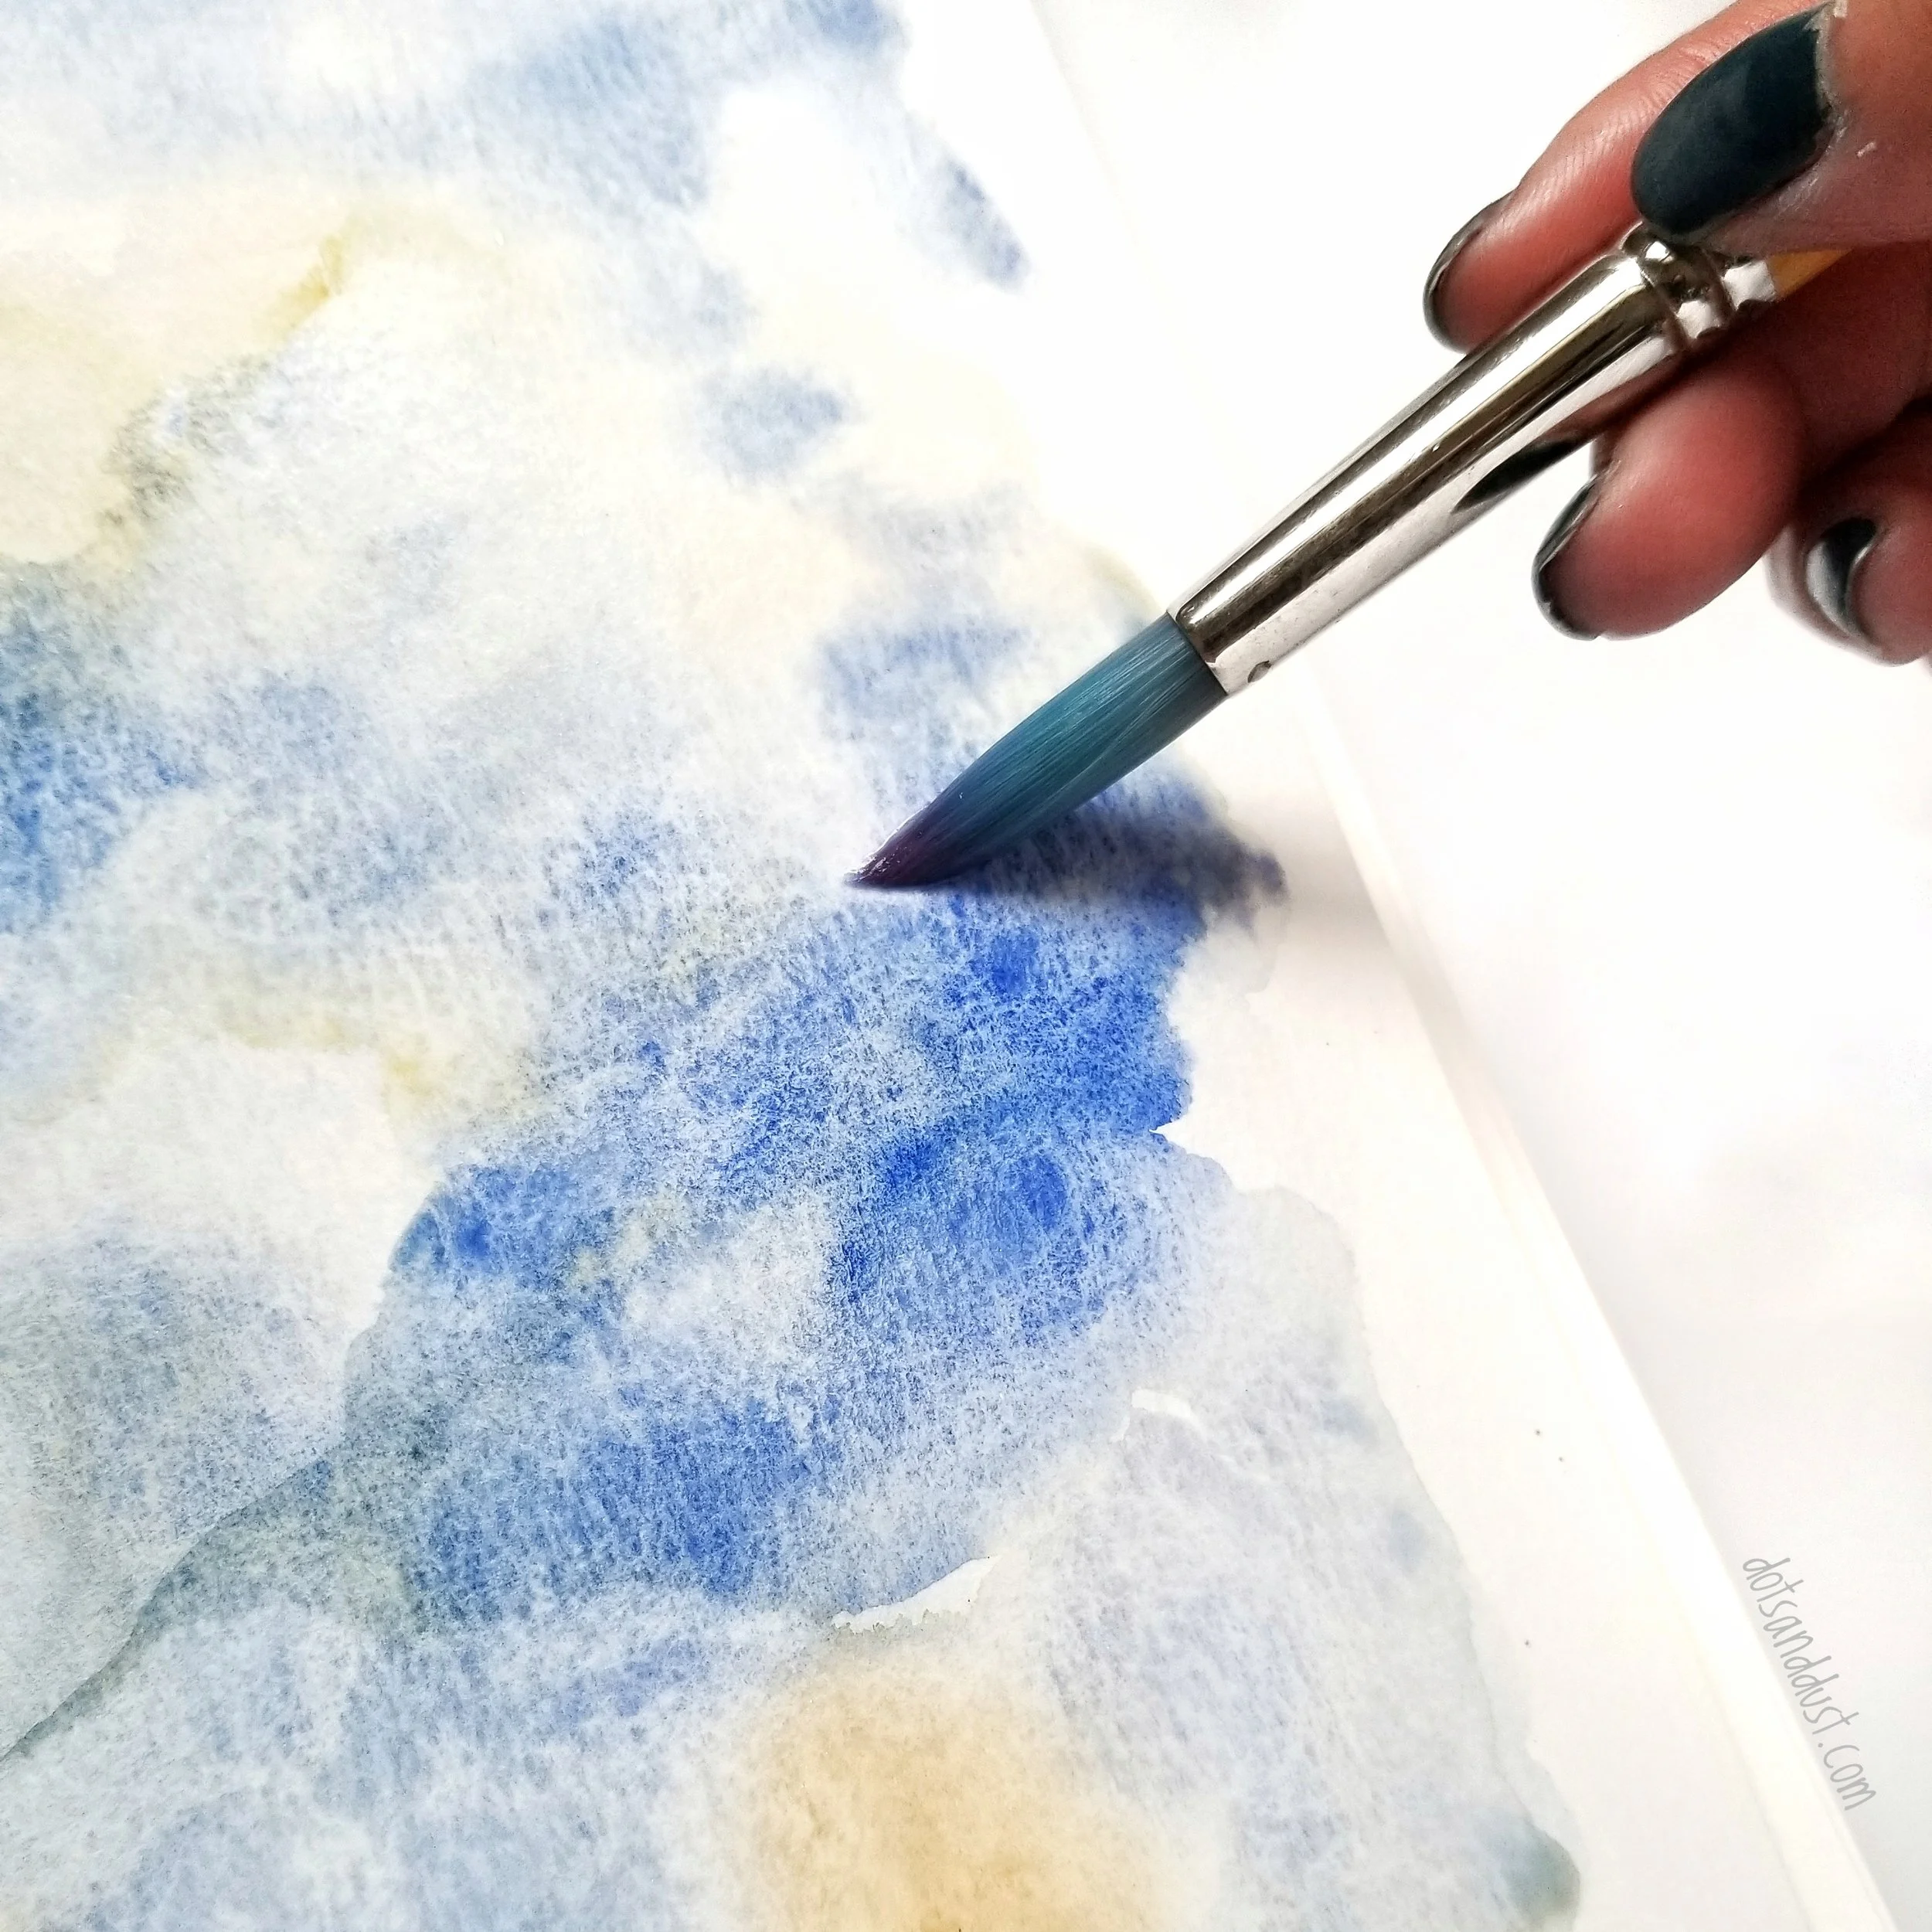
How do you know if you have too much water on your paper?
Lift up your paper and tilt it slightly. If you see that the paint swatch on your paper is visible creating a water droplet or puddle at its boundary, then you have too much water. If you see a nice flat surface with a bit of shimmer and shine (see photo below), then bravo, friend! You have just the right amount of water to execute the wet on wet technique.

If you accidently get a puddle on your page, don’t panic! All you need to do is soak up the excess water by just touching the puddle with a clean paper towel or Q-Tip.
Problem solved!
Tip #4…Familiarize yourself with “Cream to Tea” Value Scale
Another practice that is great to help you understand water control is mastering your pigment-to-water ratios. Or what I would like to call your “cream to tea” value scale.
Now, now. We are not going out for morning brunch. This is just a clever way to understand what your paint will look like as you add more water on your brush. The paint swatches will go from darkest value to lightest and your paint on your mixing palette will scale from “cream” to “milk” to “coffee,” and, then lastly, to “tea” consistencies.
To practice this, dip your brush into your jar of water and then swipe your brush on your paint a ton of times to pick up a lot of pigment. Transfer this to your palette and keep adding more pigment until the consistency resembles a very thick cream. This very high pigment to water ratio is what we will call our “cream.” What that means is that the paint that you are mixing on your palette has a higher pigment to water ratio and will have the darkest value.
To achieve the “milk” consistency of paint, add a couple of drops of water to the “cream” consistency that is already in your palette. Mix until you feel that it has the resemblance of “milk.” Paint this swatch next to the “cream” swatch.
Repeat steps of slowly adding water for “coffee” and “tea” swatches.
As you can see, when you go from “cream to tea” swatches, the ratio of pigment to water begins to decrease. The more water you add to your paint the lighter the hue becomes.
Practice this regularly and you will see that mixing these ratios becomes easier and faster for you to recreate for various painting situations.

Tip #5…Invest in 100% cotton paper

I know that I my followers on Instagram are tired of hearing this from me, but I will say it until the cows come home. If you want the best results and want to master water control faster, then invest in quality, coldpress watercolor paper that is 100% cotton.
What is so attractive about 100% cotton paper is that the likely of you creating those nasty “puddles” on your paper is low. The fibers and the texture of your paper will pull the water from the surface and keep your paper wet longer for you to achieve those gorgeous watercolor blooms. No surface puddles means that once your drop in more color, there are no large water boundaries that will prevent the paint from spreading evenly across the swatch.
Goodbye hard lines. Hello beautifully soft gradients of color.
And who doesn’t want that?

So that’s it, ladies and gents! Five different tips on how you can master water control and work towards more confidence in your watercolor practice.
Comment below if you found this helpful or if I missed any tips that you would include!
The Latest & The Greatest