Simple Tutorial on How to Paint Watercolor Branches & Leaves
Disclosure: This post may contain affiliate links, meaning, at no additional cost to you, I will earn a commission if you choose to click through and make a purchase.

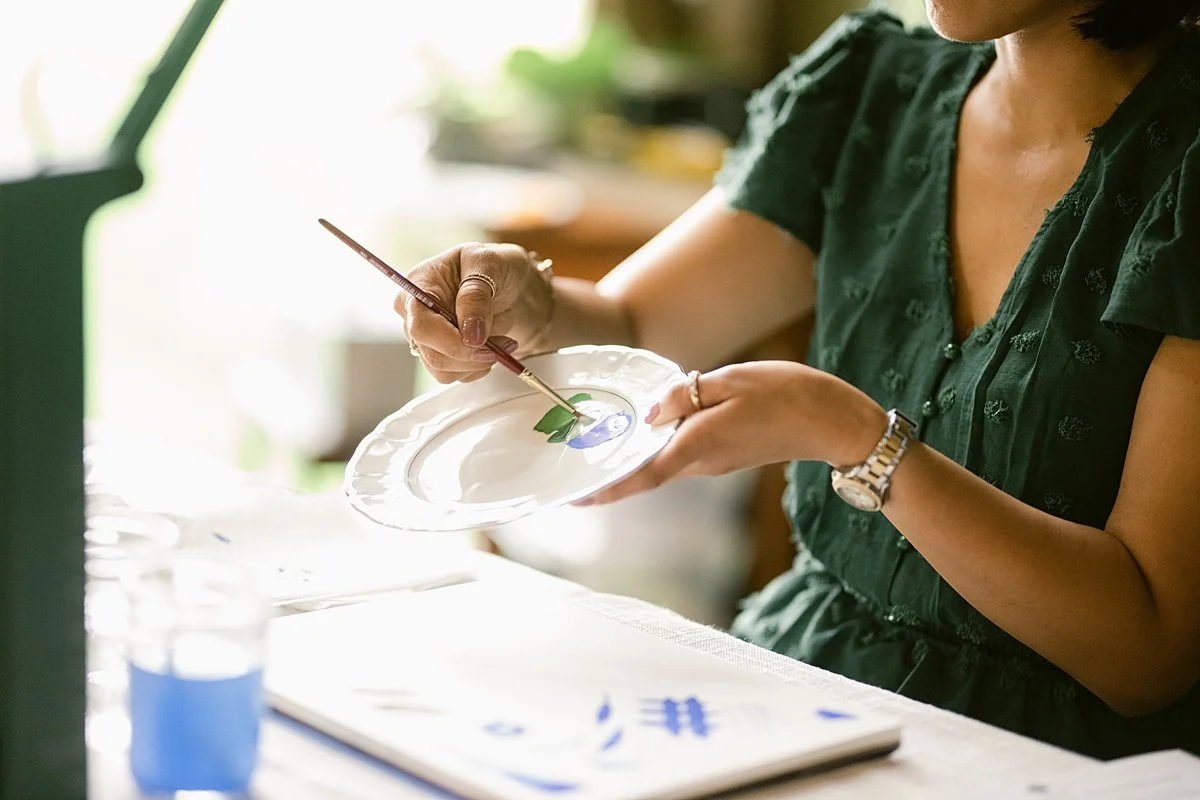
It’s been quite some time since I posted a bible journaling watercolor tutorial. But what I love about this particular one is that you really don’t need a whole lot of watercolor skills to do it. It takes a little practice to get the leaves down, but once you get the hang of it, it really is simple way to add effortless elegance to any of your painting projects.
Supplies Needed:
Journaling Bible or Watercolor Paper
Round watercolor brush in a size 6 (Princeton Snap! Brush)
Round watercolor brush in a size 4 (Princeton Neptune)
Watercolor paint in shades of brown & green
Cup of water
Sheet of paper towel (to clean up mistakes)

We will start by painting your branches and twigs. Take your number 6 round watercolor brush, load it with clean water, & then dip it into your brown paint. In the video, I am using our color-shifting paint color, “Mic Drop.” I thought it would be fun to see the colors shift from brownish/black to pink in the light.
Figure out where you’d like the base of your branches to start. For me, I started at the lower-left corner of my page. Hold your brush perpendicular to your page (90-degree angle) and lightly drag the brush creating your main branch.
From that main branch, continue to use the same hold of your brush to paint more branches and twigs. Avoid your branches from being completely straight. Let them twist or bend naturally. Quick tip: if you are completely stumped on how to draw your branches or twigs, use mother nature for inspiration! Step outside and find a tree for inspiration or do a quick google search to help you.
Once you are done with your branches and twigs, you are ready for your leaves. Take your number 4 round watercolor brush, load it with clean water, & dip it into your green paint. Here, I am using the color “Dancing Shoes.”
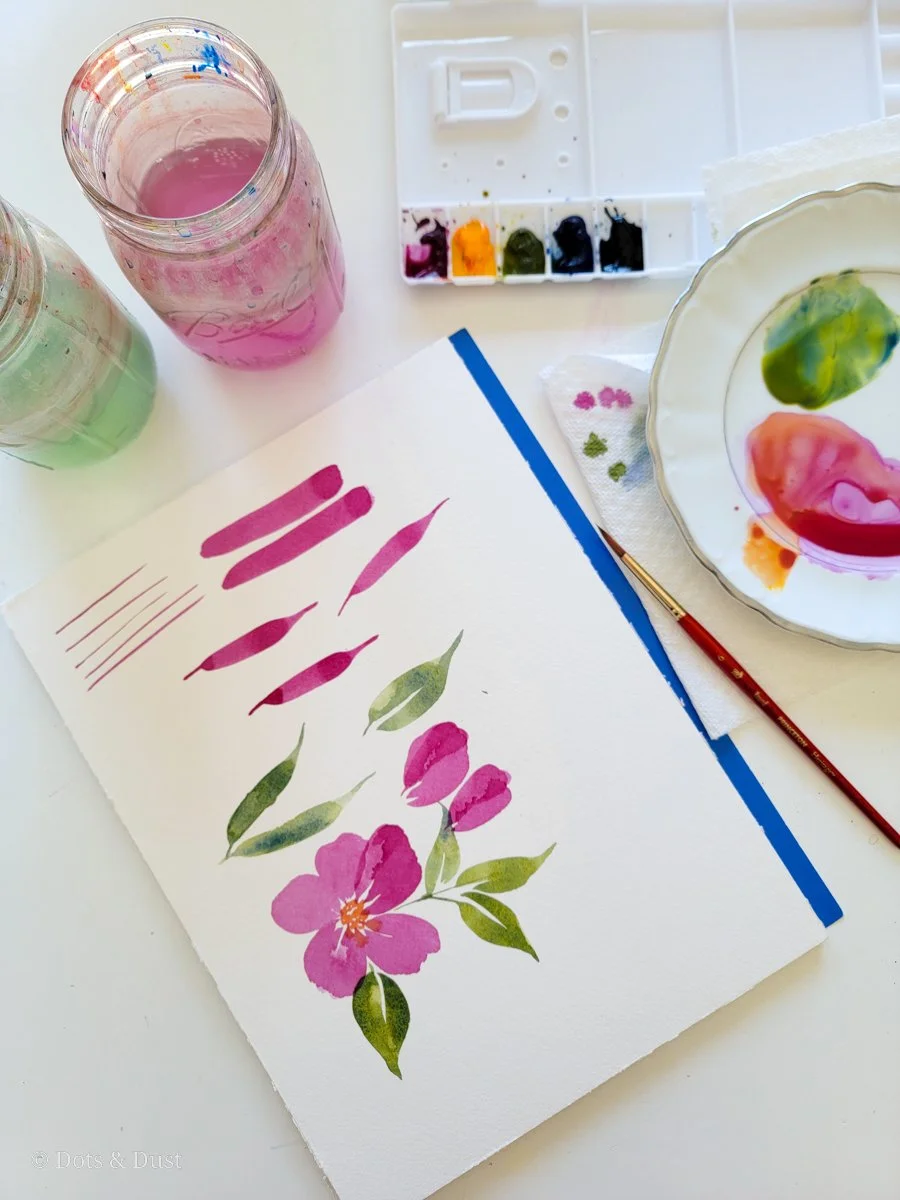
To create your leaves, you will use a technique that I call the “drag-press-lift” method. Start by picking a point from your branch or twig that you want that leaf to come off of. Hold your brush at a 35- to a 45-degree angle from your page and from that branch/twig, lightly drag your brush on the page to create the small stem of your leaf. Then apply more pressure by pressing down and then gradually lift up to a point to create one side of a leaf. Return to the stem of your leaf and repeat those steps to create the other side of your leaf.
Remember that if you leave a bit of white space down the middle of your leaf, that is perfectly fine! It’s actually encouraged as it gives the illusion of a vein on your leaf.
Continue to create your leaves on all your branches and twigs. Make sure that the orientation of your leaves shift and change to give your art piece more movement. Don’t be afraid to have leaves overlap each other or the branches! It creates a lot more interest and fluidity.

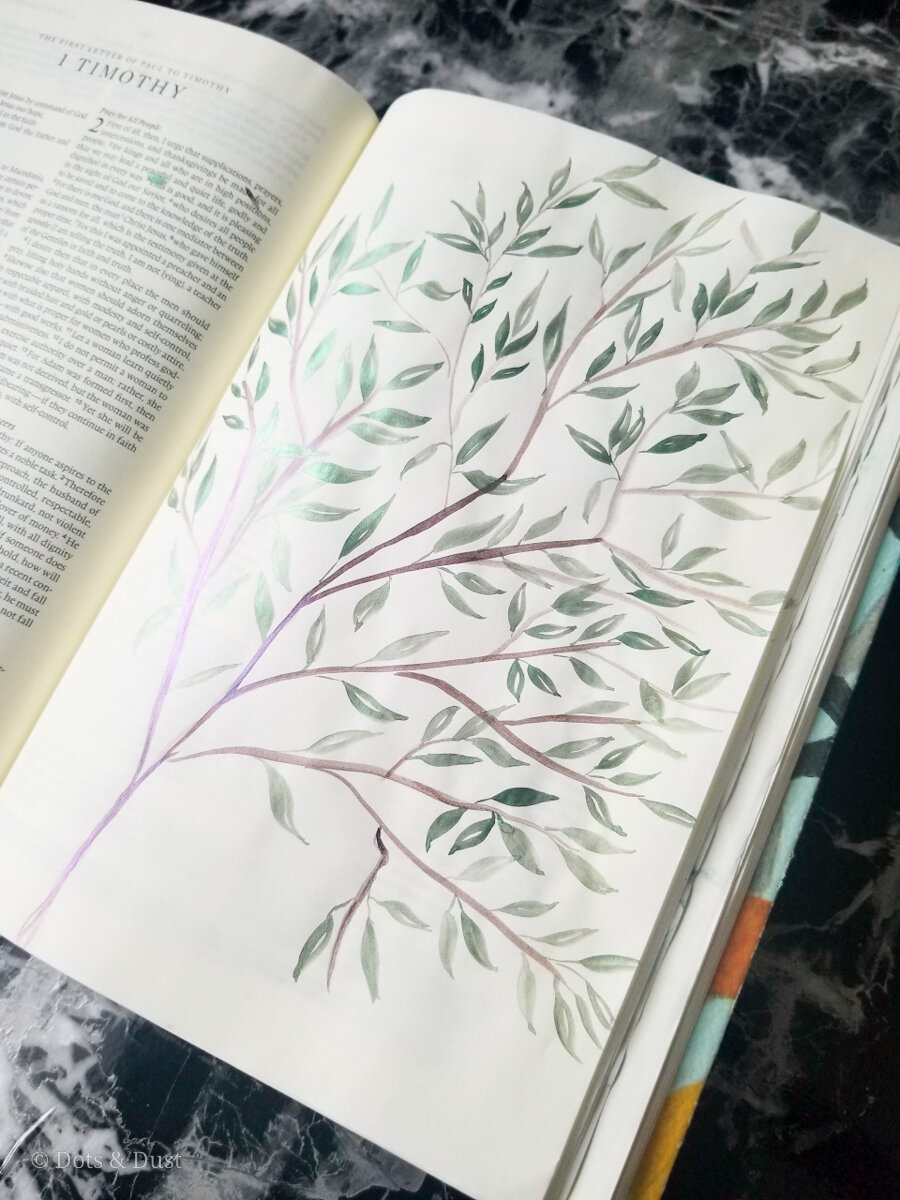
And there ya have it, y’all! This one was so dang pretty that I didn’t even bother lettering on top of it. I was perfectly happy just leaving it how it was.
What do you think? Let me know in the comments below!
If you happen to try this tutorial out, please be sure to tag us using the hashtag #dotsanddustfam on social media.
The Latest & The Greatest